11 Injection Molding Defects and Troubleshooting
Short Shot
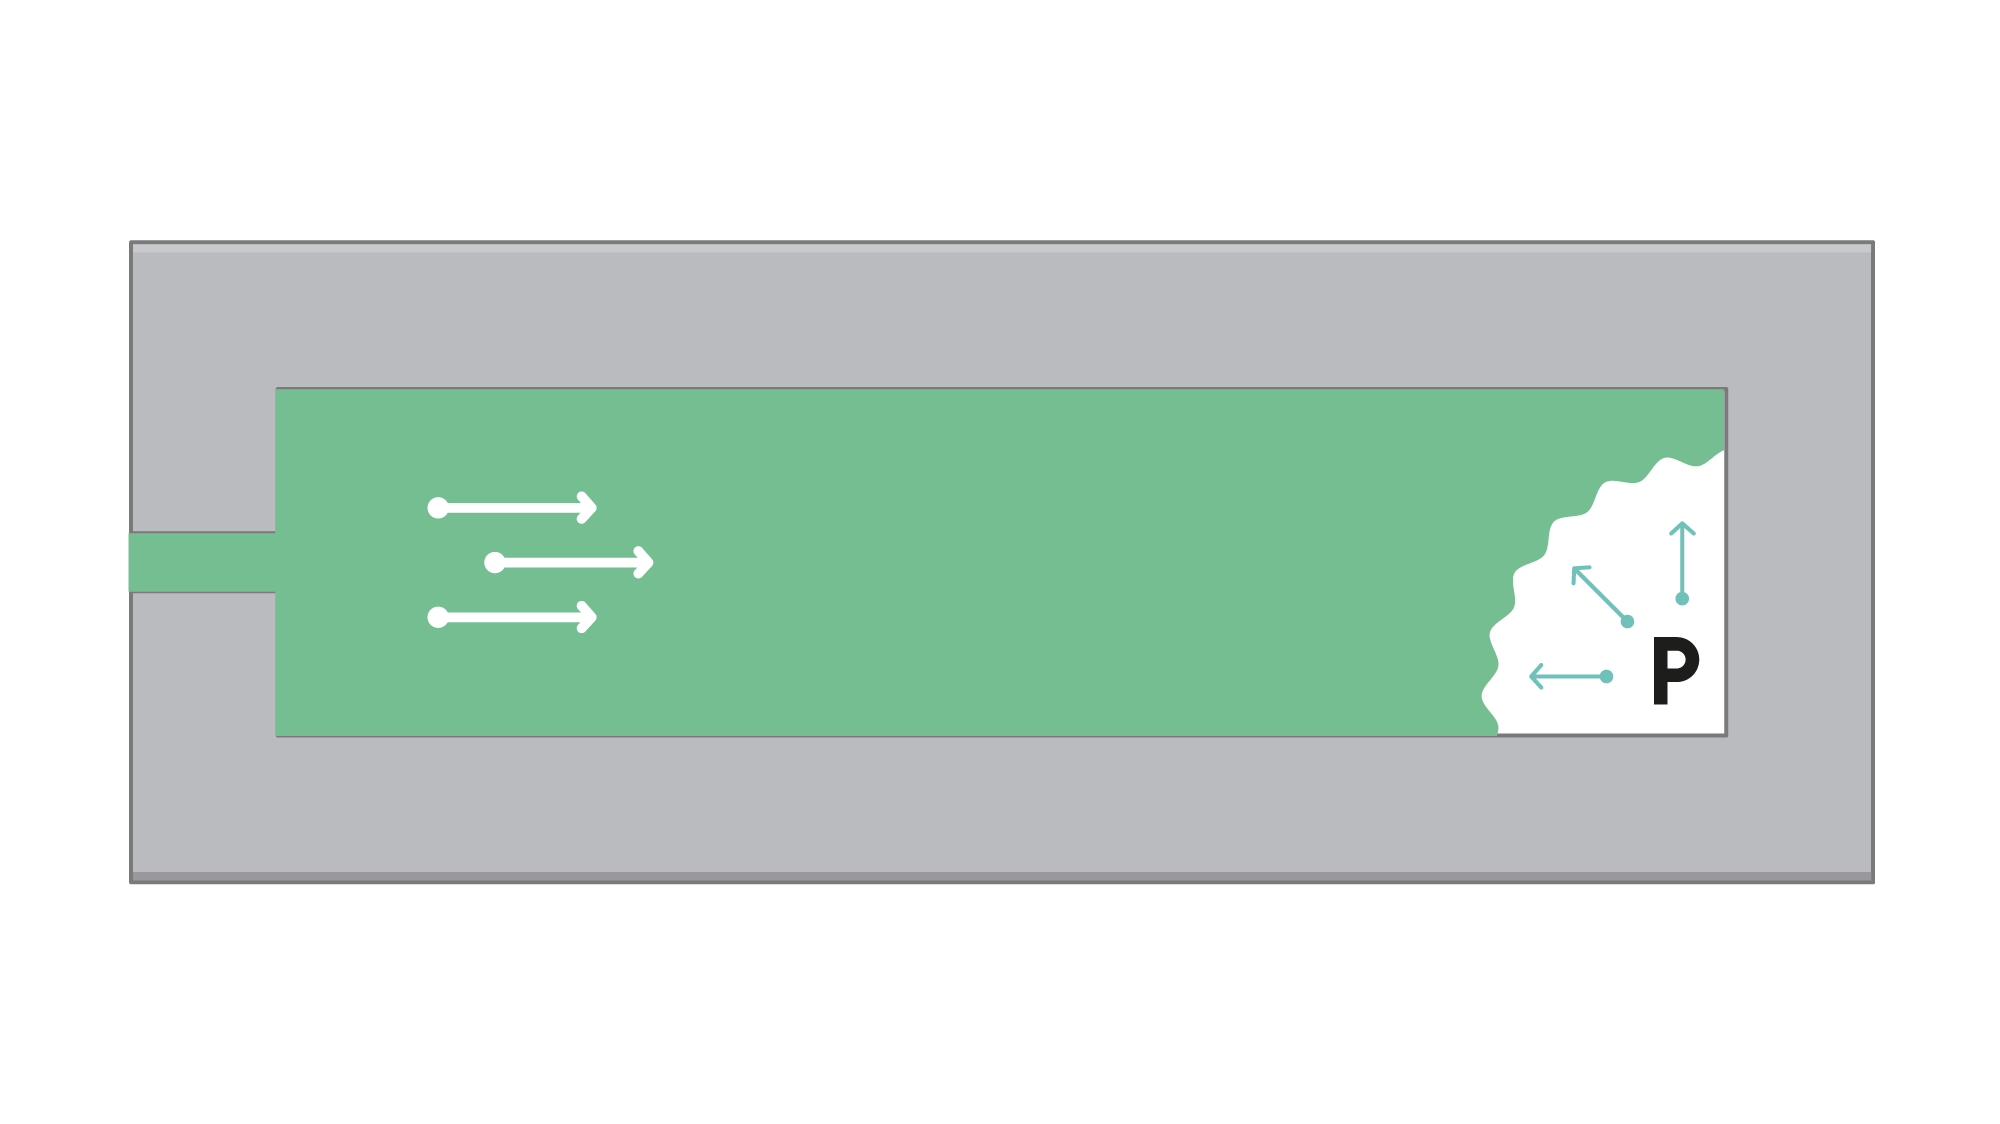
- Restricted flow areas, such as the wrong type of gates, the wrong dimension of runners, and thin walls.
- Low melt or mold temperatures.
- Due to insufficient ventilation, air is trapped inside the cavity
- Insufficient machine injection pressure and low injection speed.
- Machine malfunctioning, such as a blocked feed throat, or a worn non-return valve that causes a loss of injection pressure. There could also be pressure loss on the flow path.
- Premature solidification of the material melt, poor injection speed profile, or prolonged injection time.
Flash
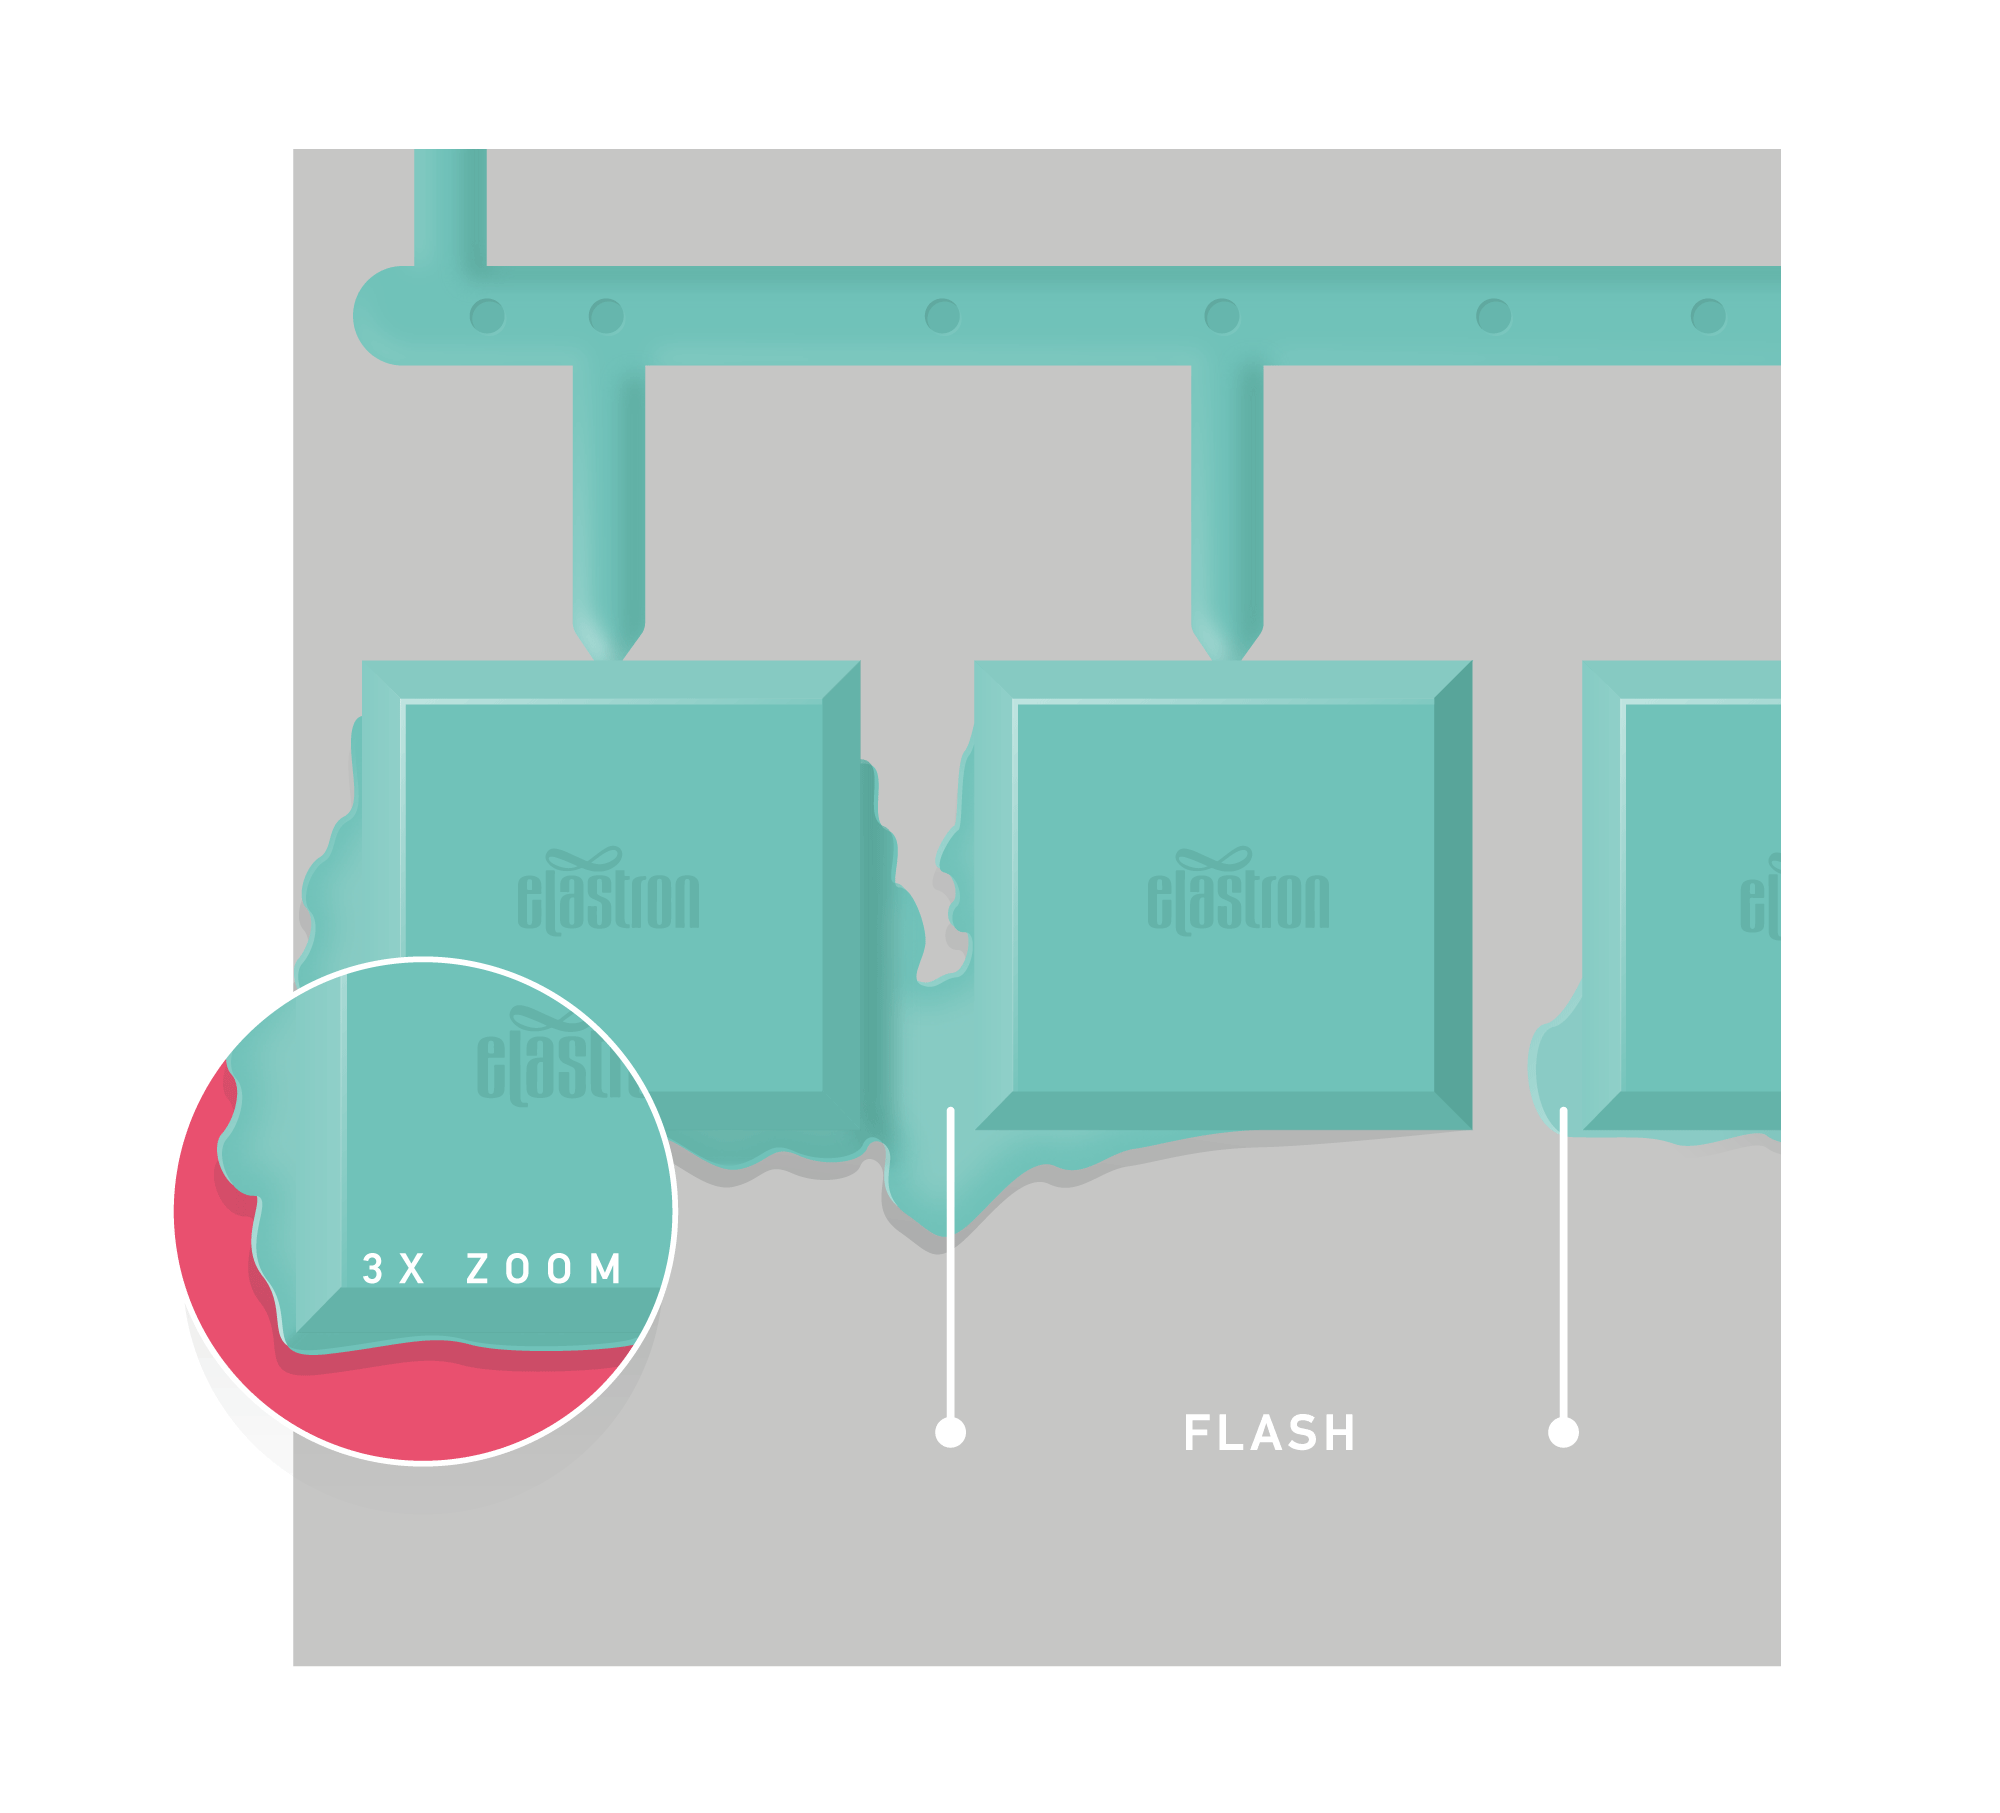
- Low clamp force: The clamping force must be higher than the injection pressure. If the clamping force is too weak to hold the mold plates together during the injection process, flash takes place.
- Gap within the mold: Flash will occur if the parting surface does not contact completely, due to a deformed mold structure, parting surface defect, improper machine and mold set up, or a foreign material is stuck on the parting surface.
- Injection parameters: High melt temperature (lowered the viscosity of the material) or high injection pressure with the clamping force and flash takes place
- Nonconforming venting: Due to the venting design and a very poor venting system, or the venting dimension is not correct.
Sink Marks
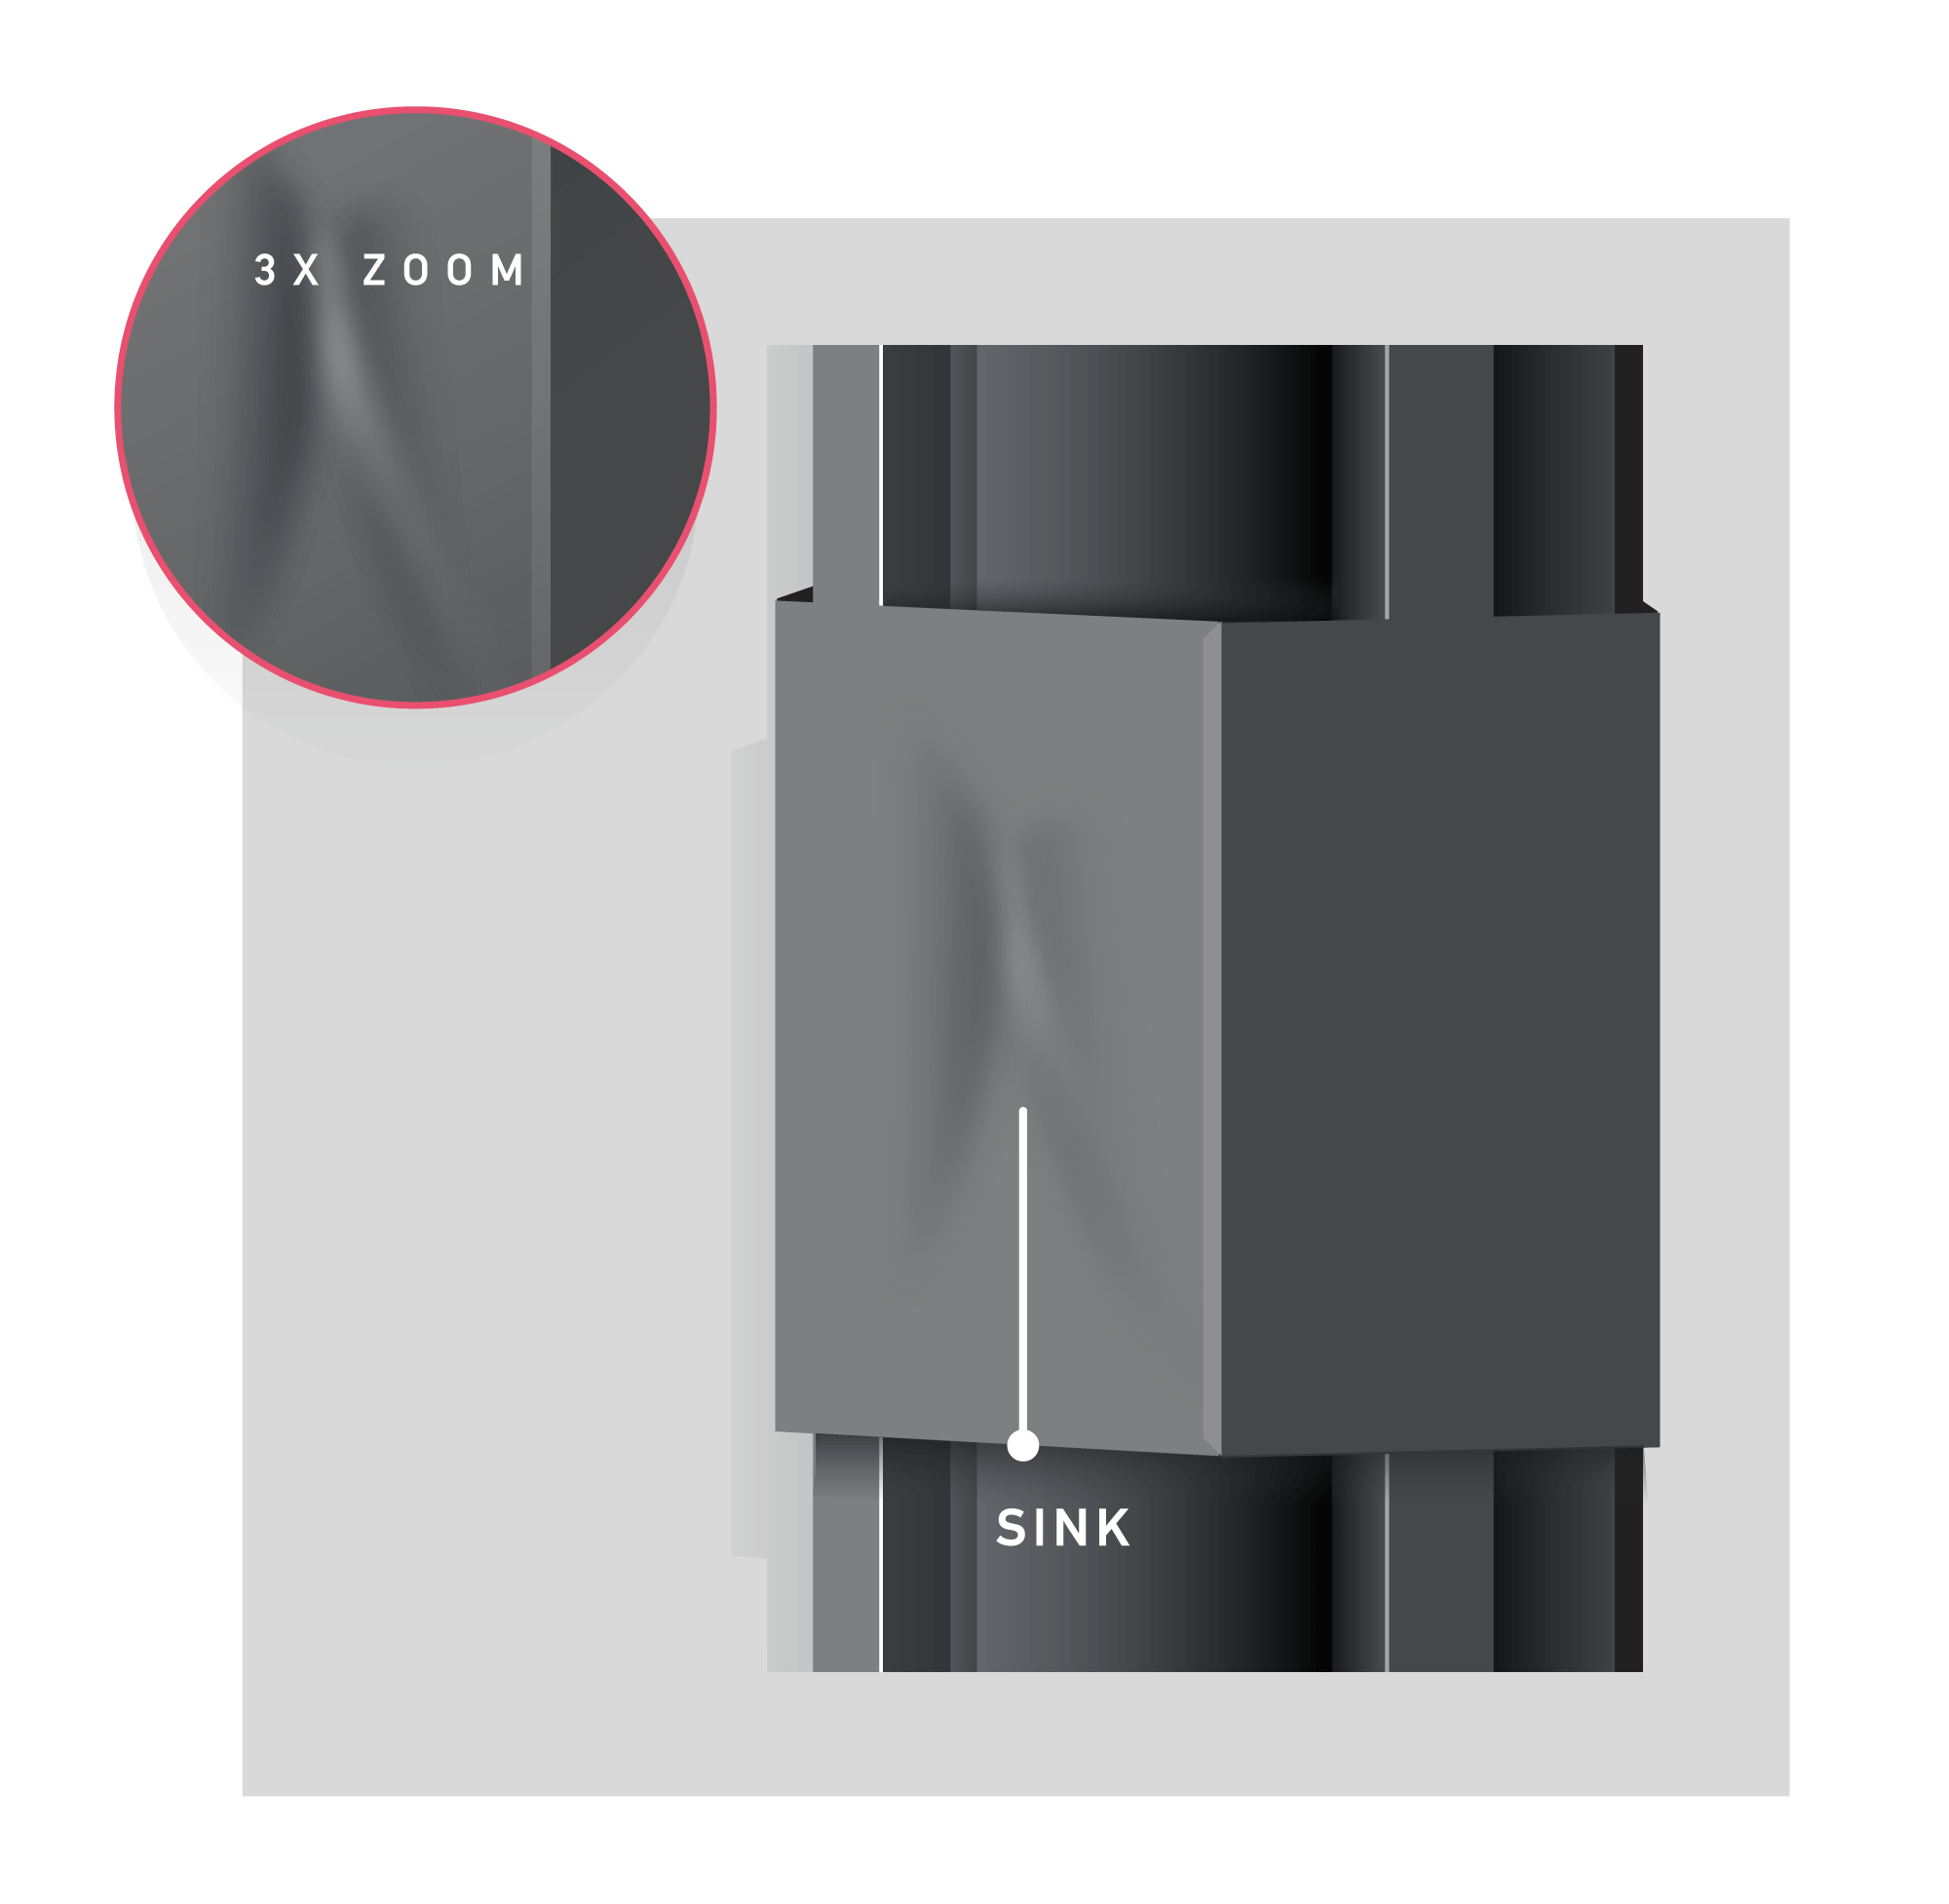
- After injection holding must be applied until the gate is completely frozen. Otherwise the melt goes back inside the runner and sink marks appear.
- Short cooling time, after stress relaxation in cooling, the new material loaded to the cavity replaces the voids.
- High melt temperature or mold temperature
- Due to the mold design, there might be some pressure loss in order to hold the material after injection.
Splay Marks
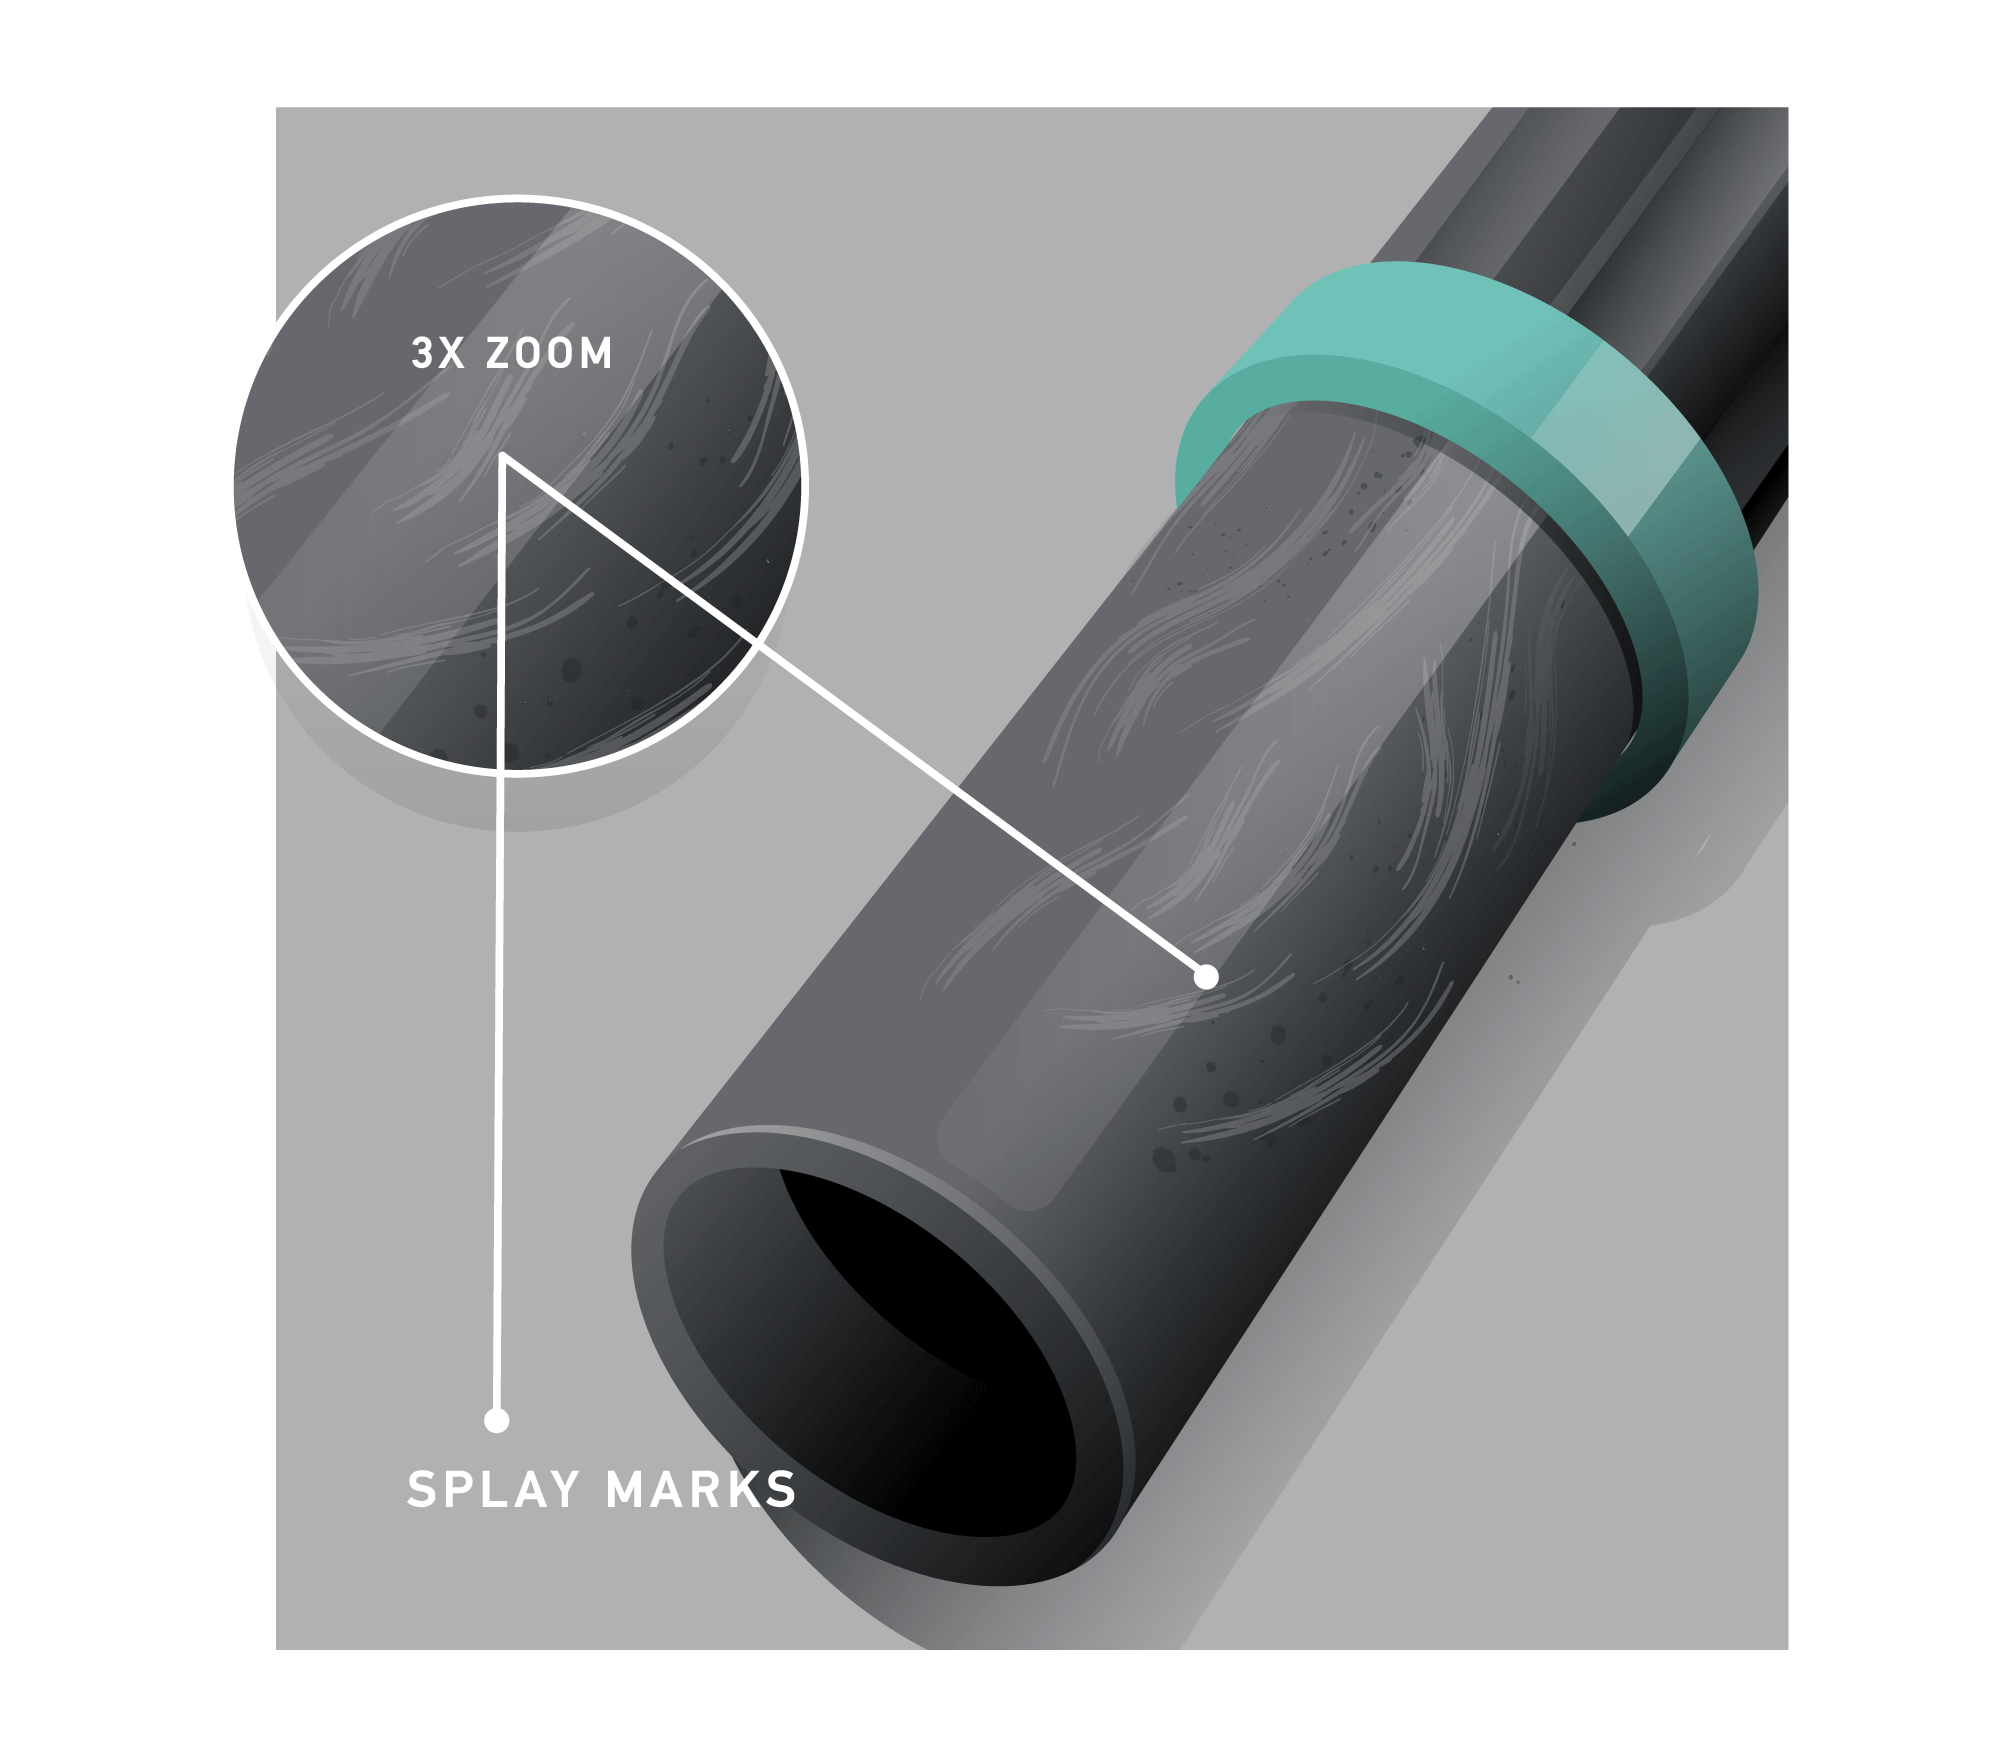
If the material is used without predrying, the moisture inside the material can cause splay marks. A high rpm during screw retraction generates gas and this gas is injected with the parts and melted material.
- Dry plastic according to the recommendations.
- Reduce the injection speed, because a high speed generates gas due to friction.
- Reduce the melt temperatures by reducing the barrel temperatures.
- Reduce the screw rpm as a high rpm generates gas.
- Increase the back pressure. Increasing the back pressure will discharge the gas through the hopper.
- Increase the mold temperatures
- Increase venting
- Increase the gate diameters. A tight diameter generates gas due to the high shear rates.
Warpage
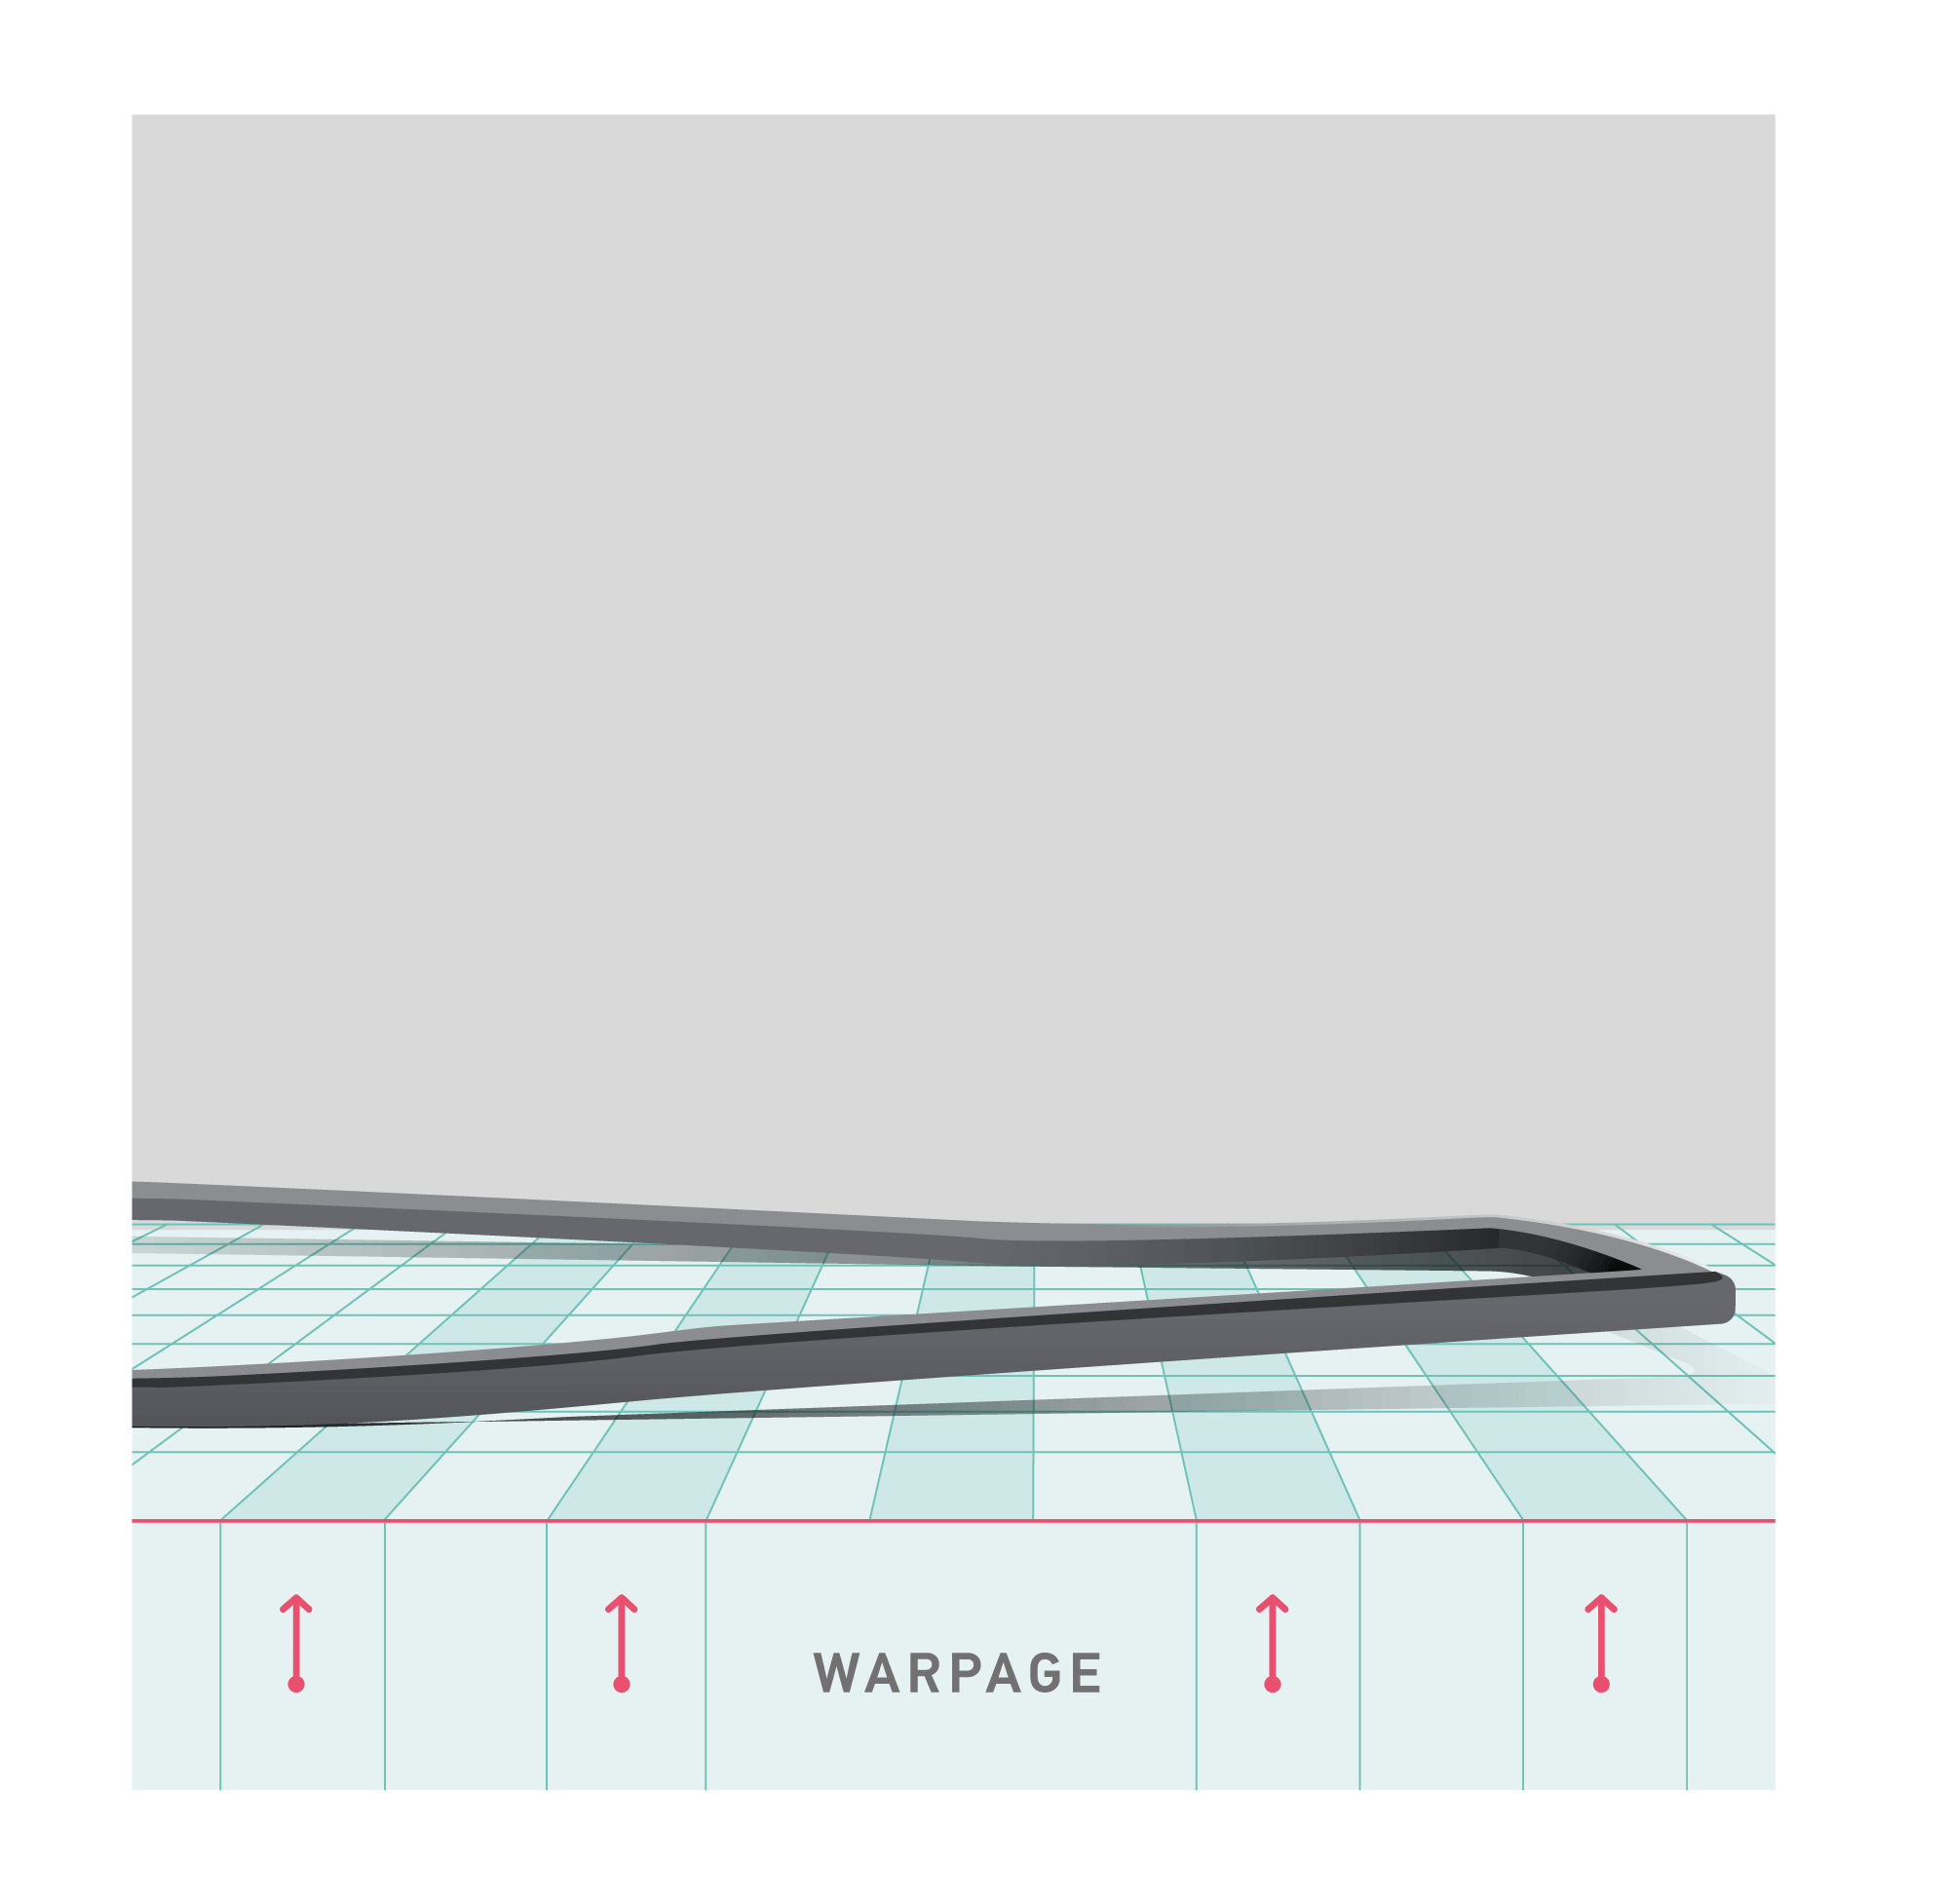
Warpage is caused by a differential cooling rate of the melt in two sections of the molded product.
- Reduce the melt temperature to reduce the cooling time.
- Reduce the mold temperature to a reasonable level according to the recommendations.
- Increase the pack and hold pressures if there is any pressure loss.
- Increase the pack and hold times.
- Due to an insufficient cooling time, warpage takes place after ejection. Increase the cooling time to cool the part to a sufficient level.
Burn Marks
Material Degradation
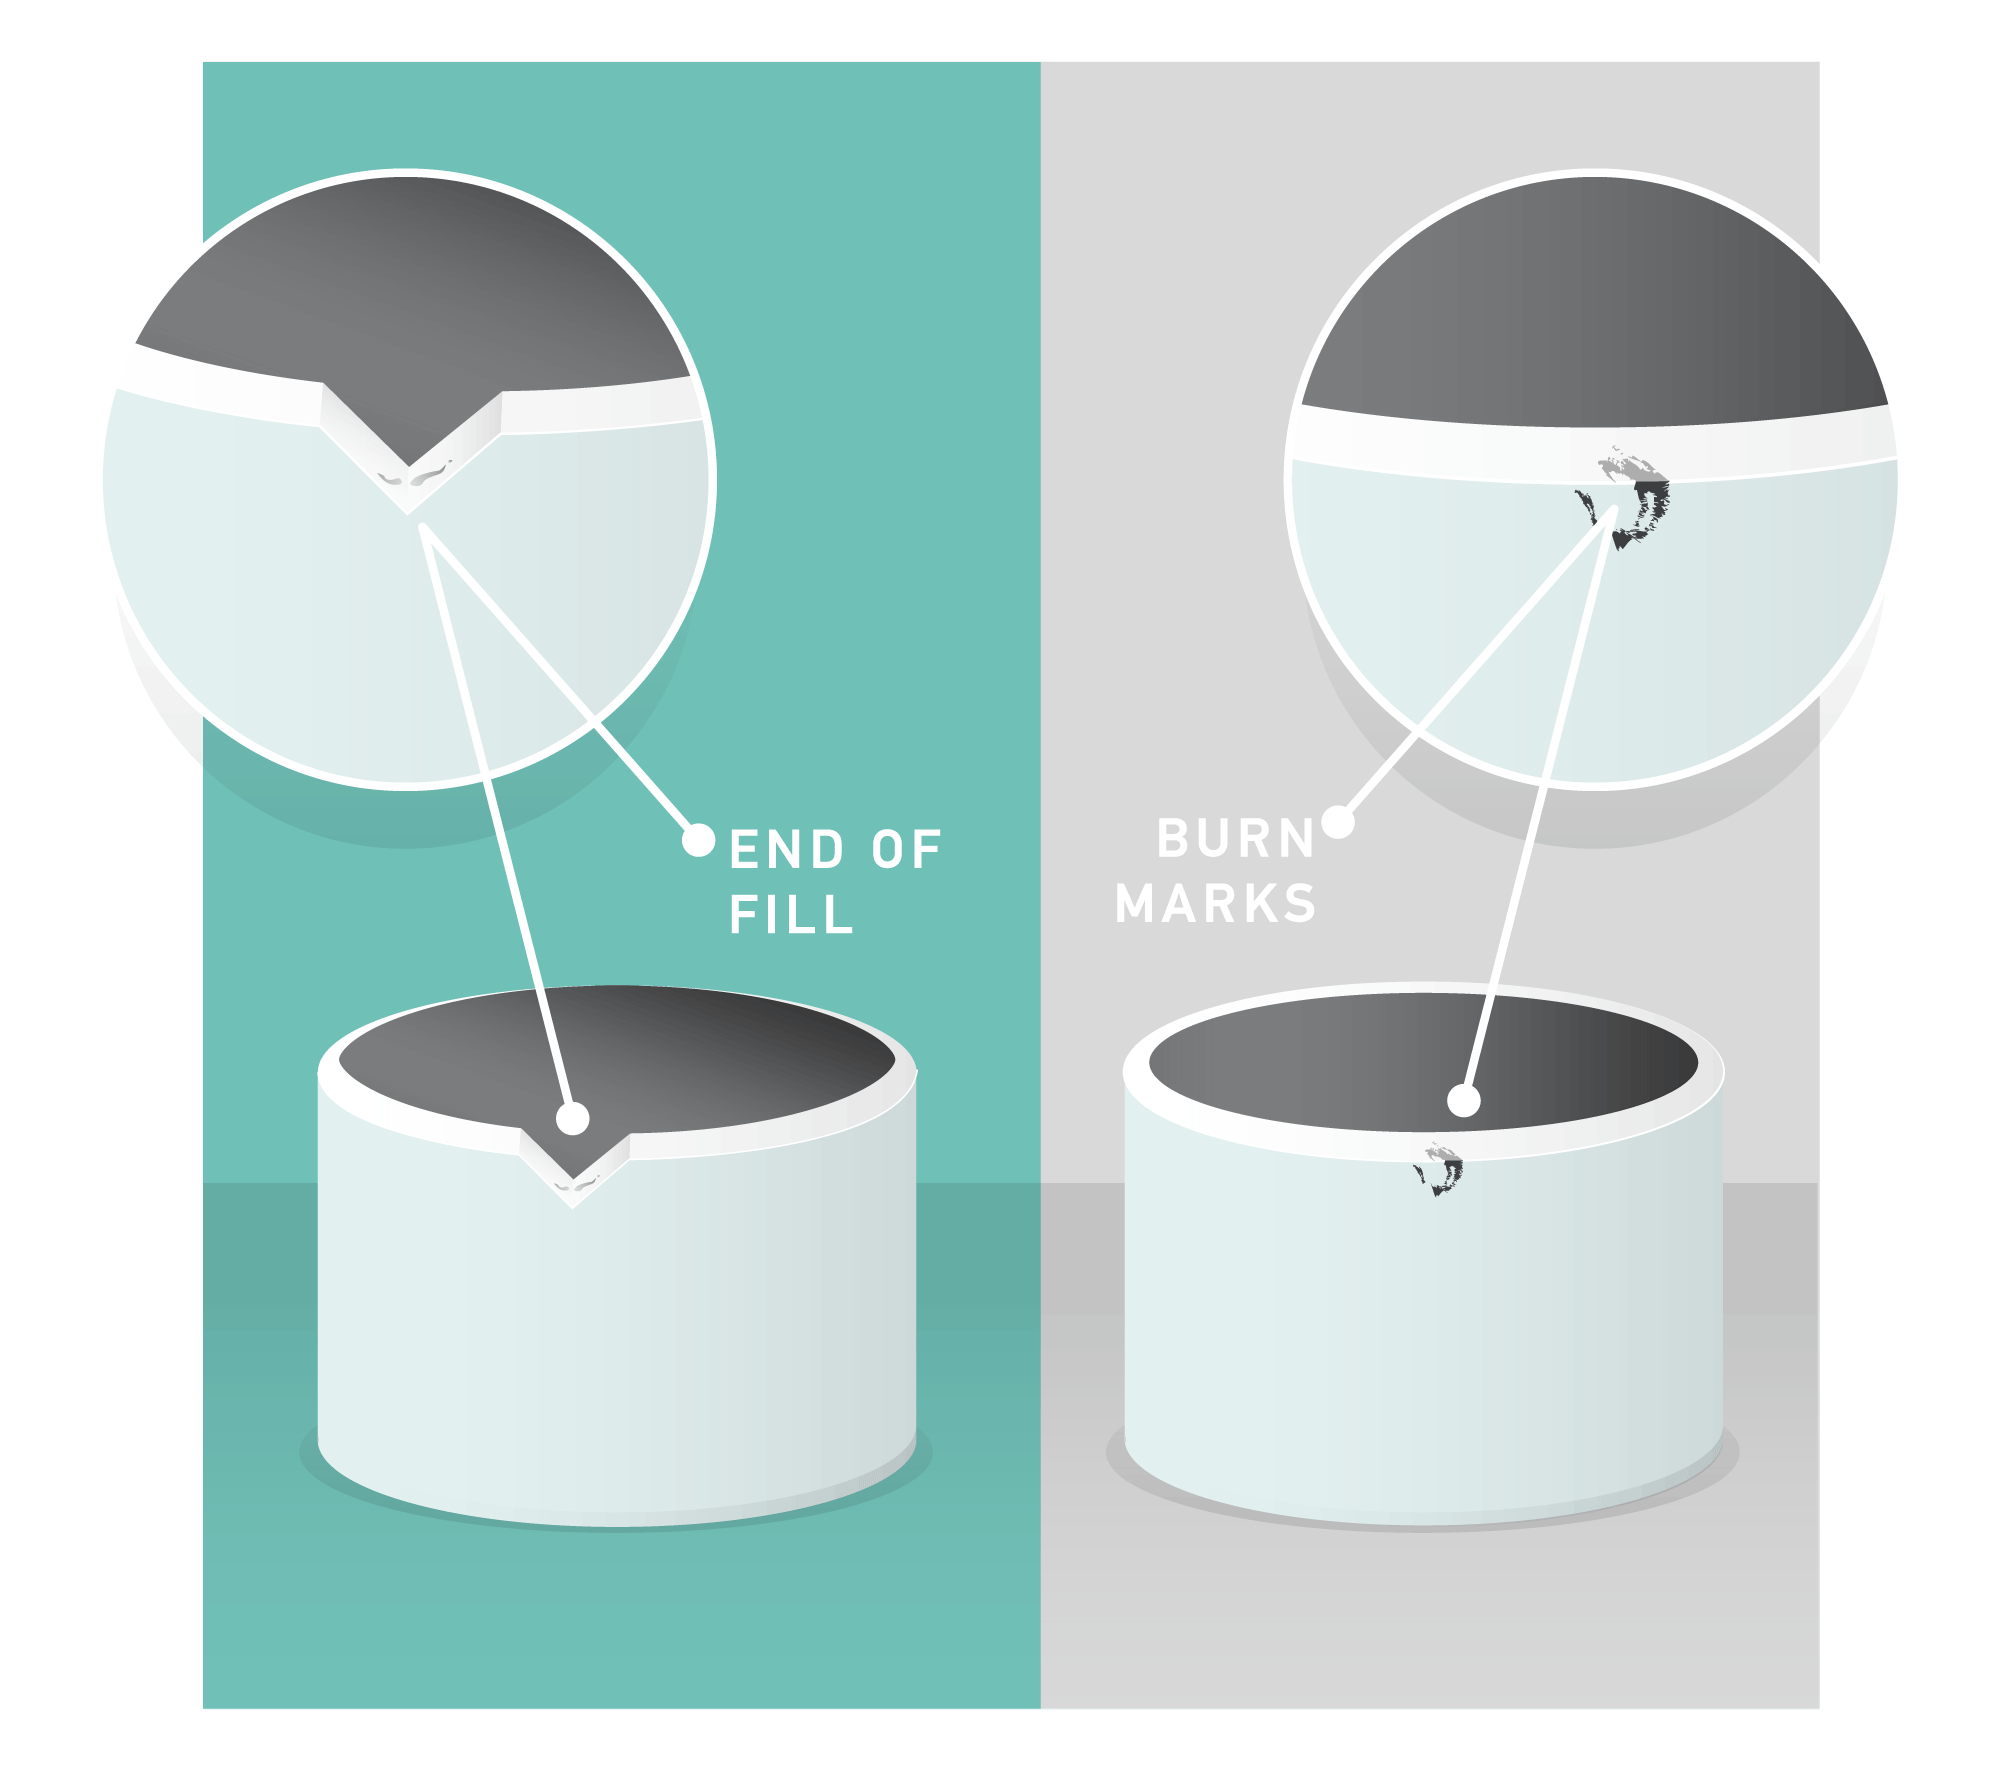
Burn marks can result from degraded materials and appear on the surface of the molded part or near the venting areas. Material degradation is caused by:
- High melt temperature: An excessive melt temperature is caused by higher barrel temperatures, or a malfunctioning temperature controller.
- High screw rotation speed: If the screw rpm is too high during the plasticization time during screw retraction, it will create too much frictional heat and degrade the material.
- Restrictive flow path: When the melt flows through the flow path with a restrictive nozzle, runner, gate, or part sections, the shear rate increases the heat degrading the material.
- Increase the pack and hold times.
- High speed injection: Creates extra heat due to the friction in the runner.
Voids
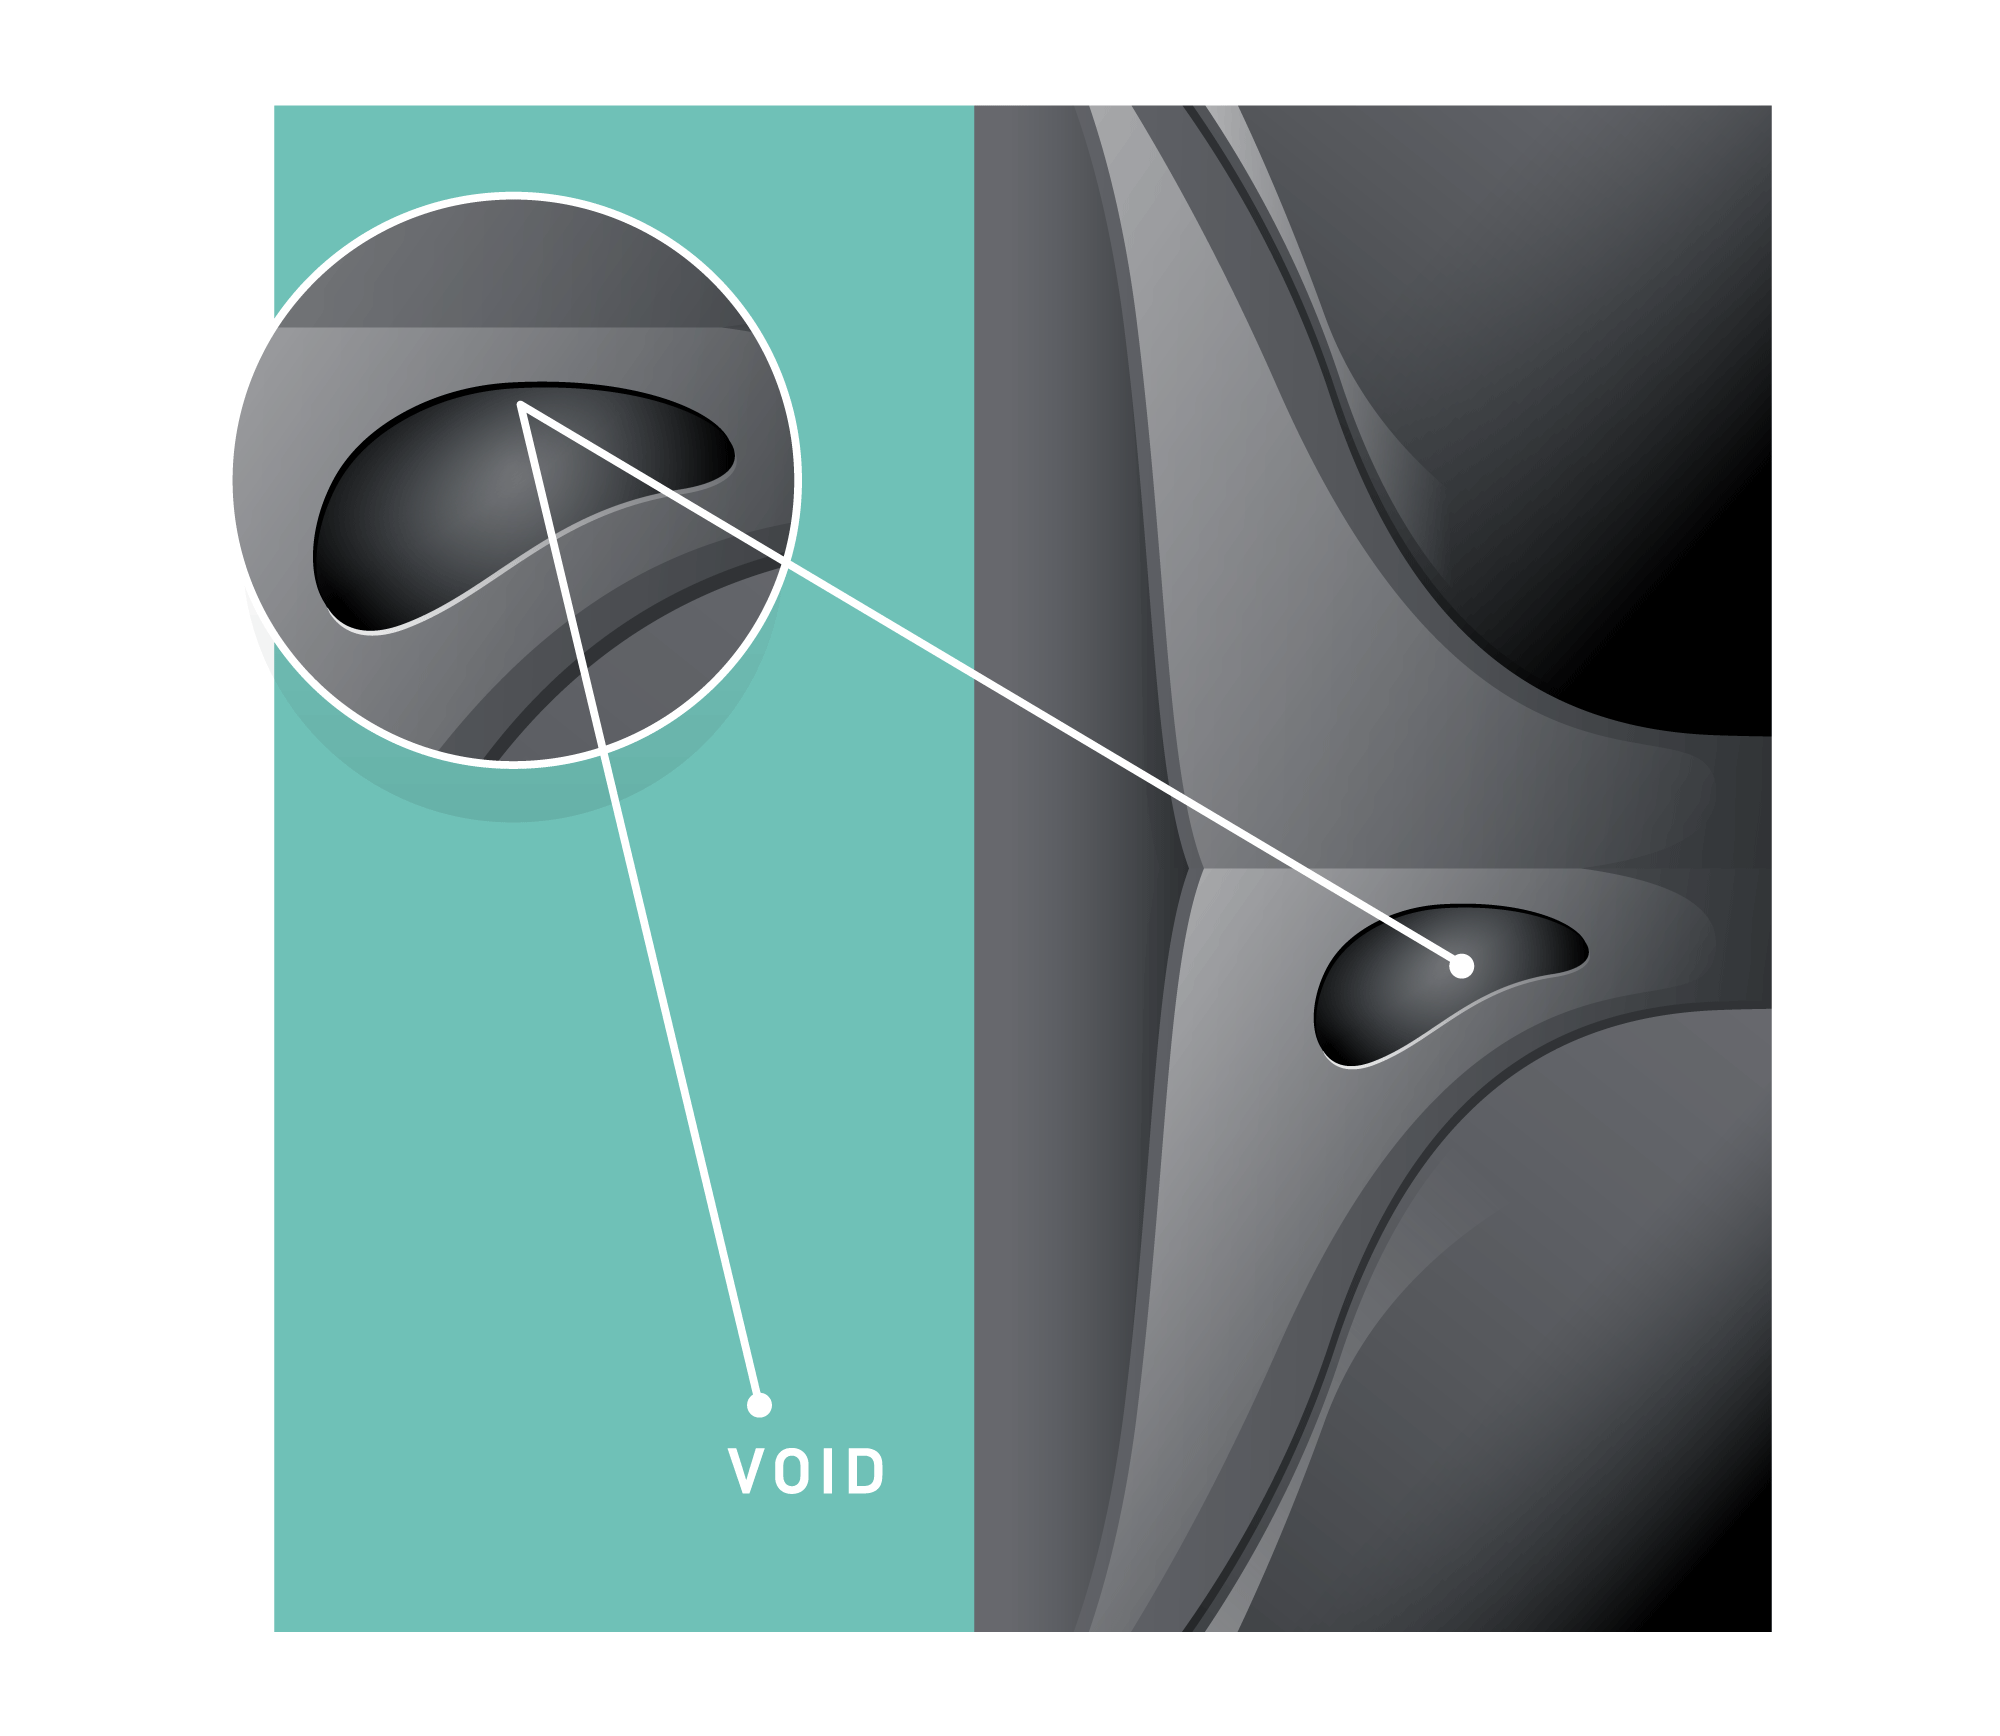
Occur when the parts thickness is high. If the mold temperature is higher than normal during cooling, the plastic melt shrinks towards the wall and therefore pulls a vacuum void on the inside of the part
- Reduce melt temperature: Cooling after high temperatures might cause the voids.
- Reduce mold temperature: High mold temperatures keep the melt temperature high causing voids.
- Reduce injection speed: High speed injection creates high frictional shear and melt cooling would be hard.
- Increase pack and hold pressures: Packing and holding pressures send the gas or airs to out through the ventilation channels
- Increase pack and hold times.
Bubbles
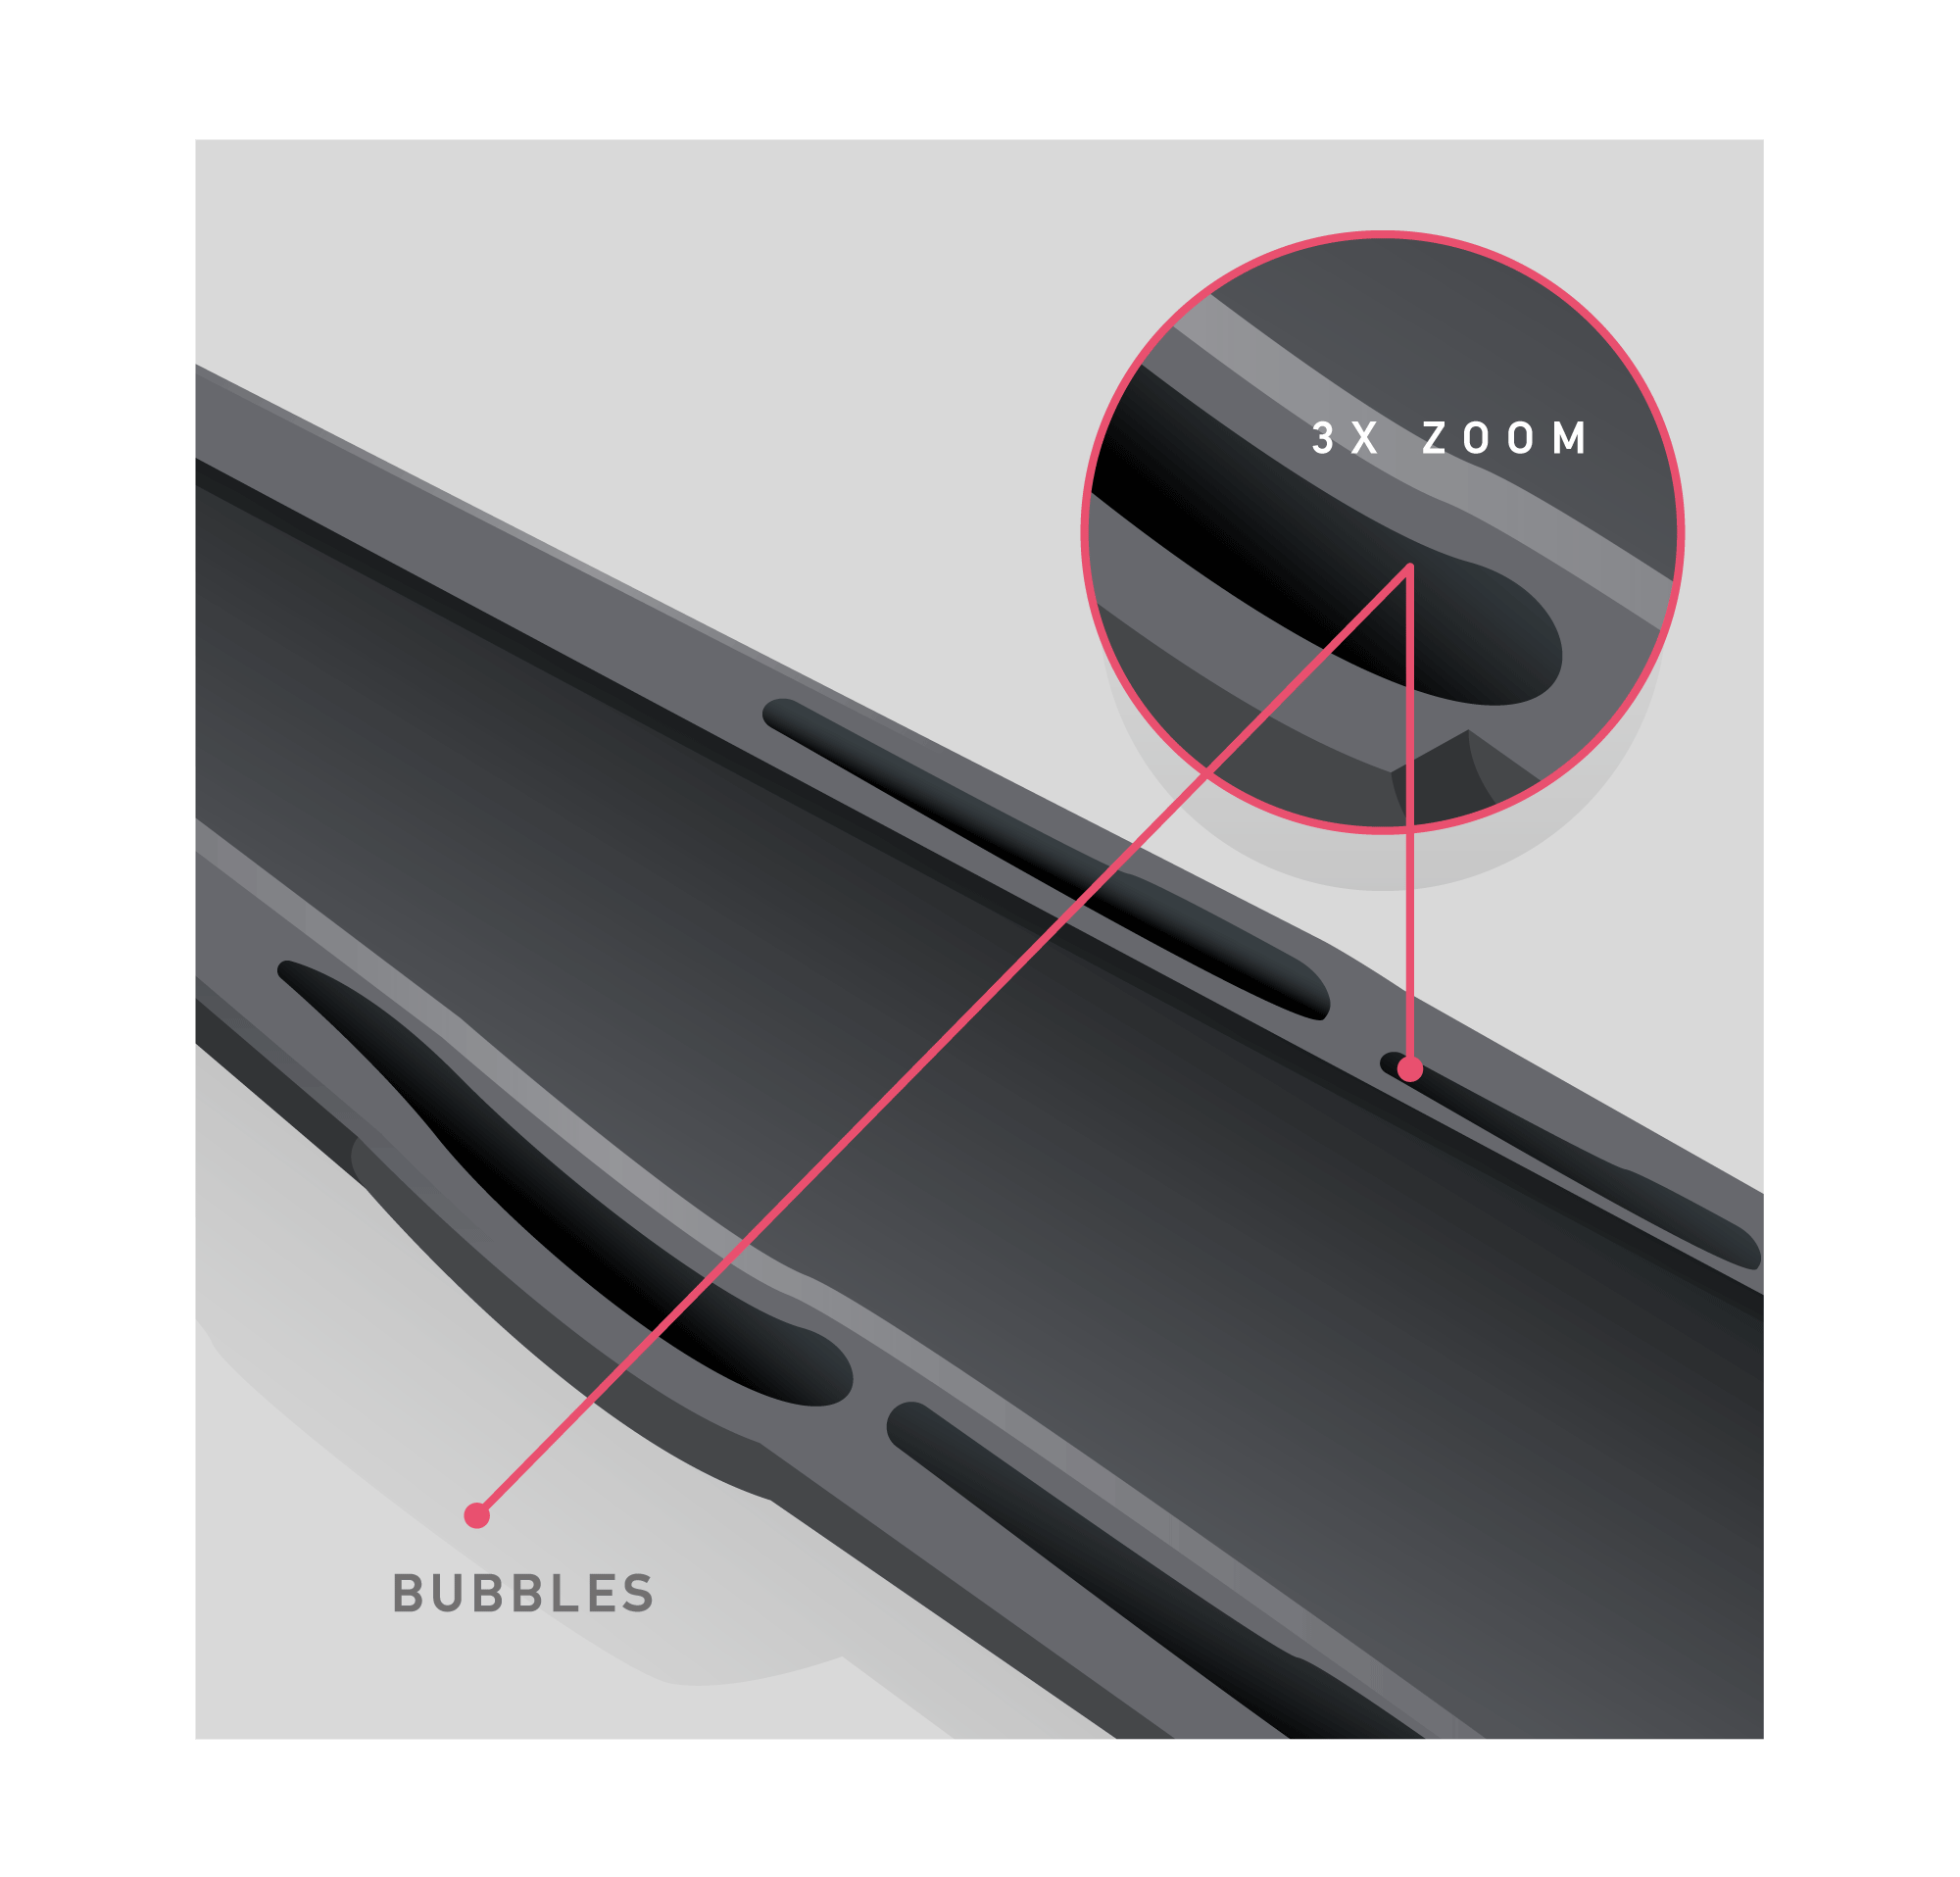
Moisture or gas coming from the product is injected in the mold cavity. This moisture or gas, if embedded inside the melt, can appear as bubbles.
- Dry material to suggested moisture levels.
- Increase back pressure: Back pressure sends the gas to the outside of the mold.
- Reduce the melt temperature.
Gate Vestige
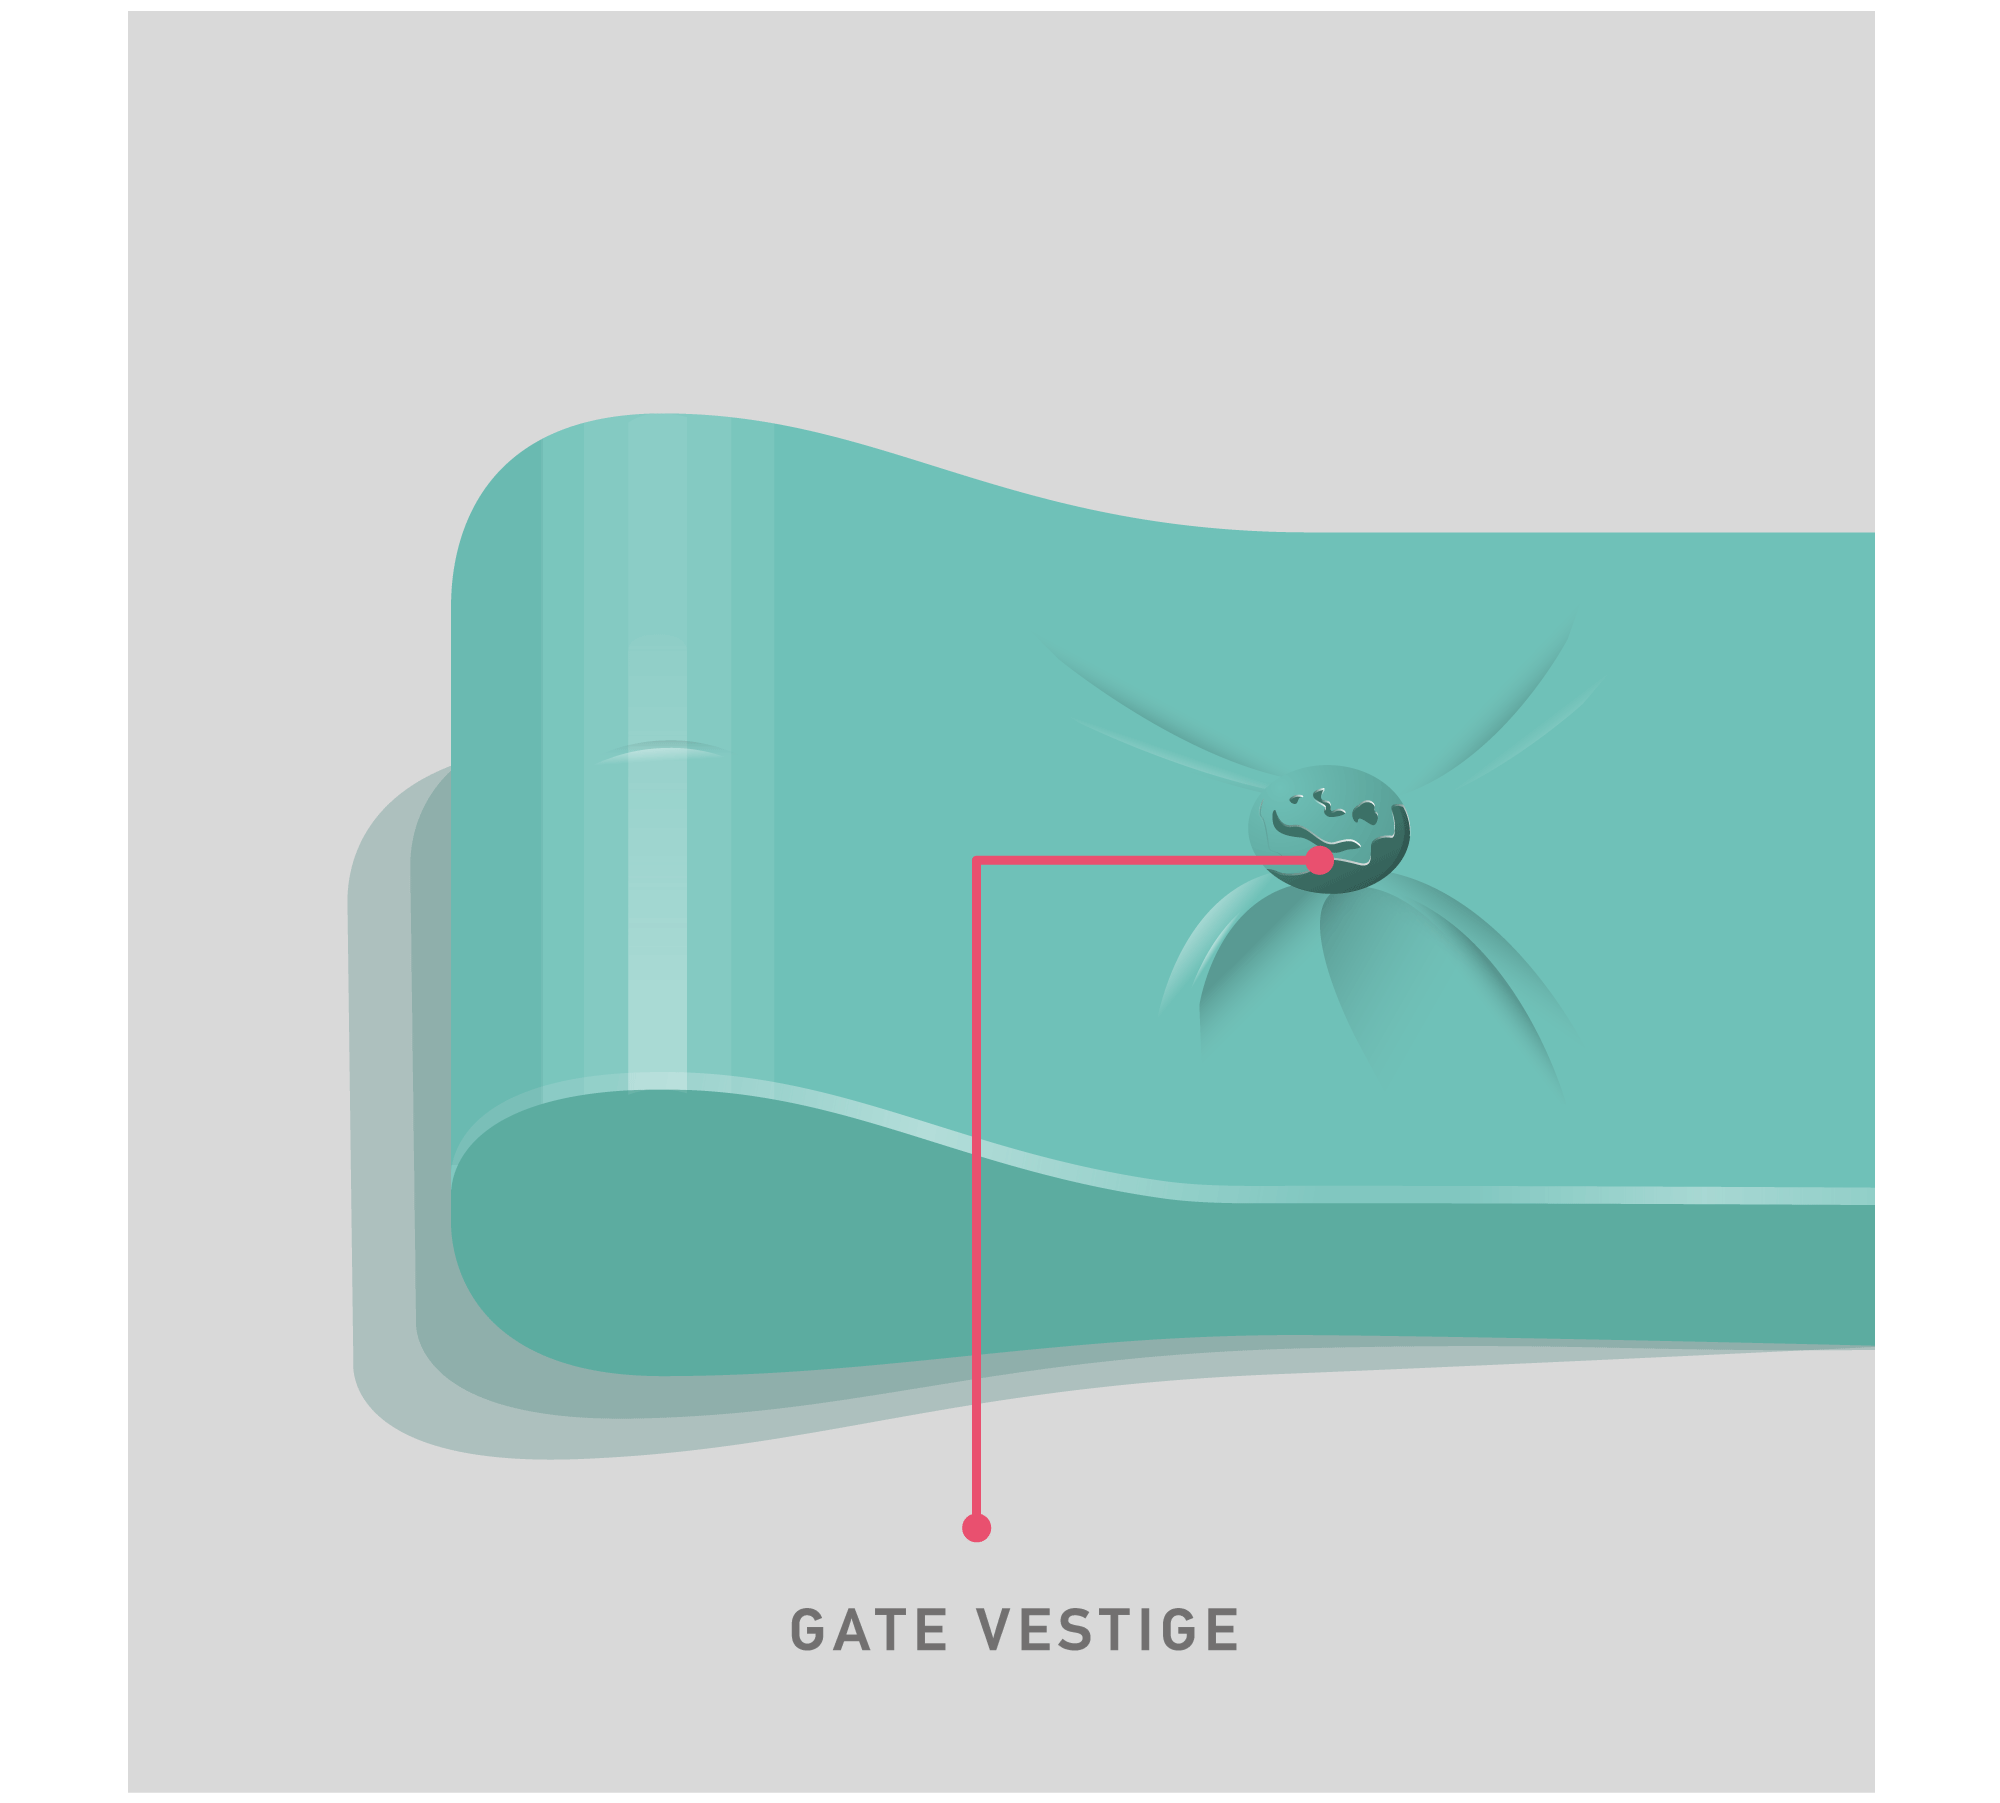
- During the holding phase, reduce the injection speed and pressure.
- Optimize the injection speed profile
- Increase the melt temperature by increasing the barrel temperatures gradually.
Jetting
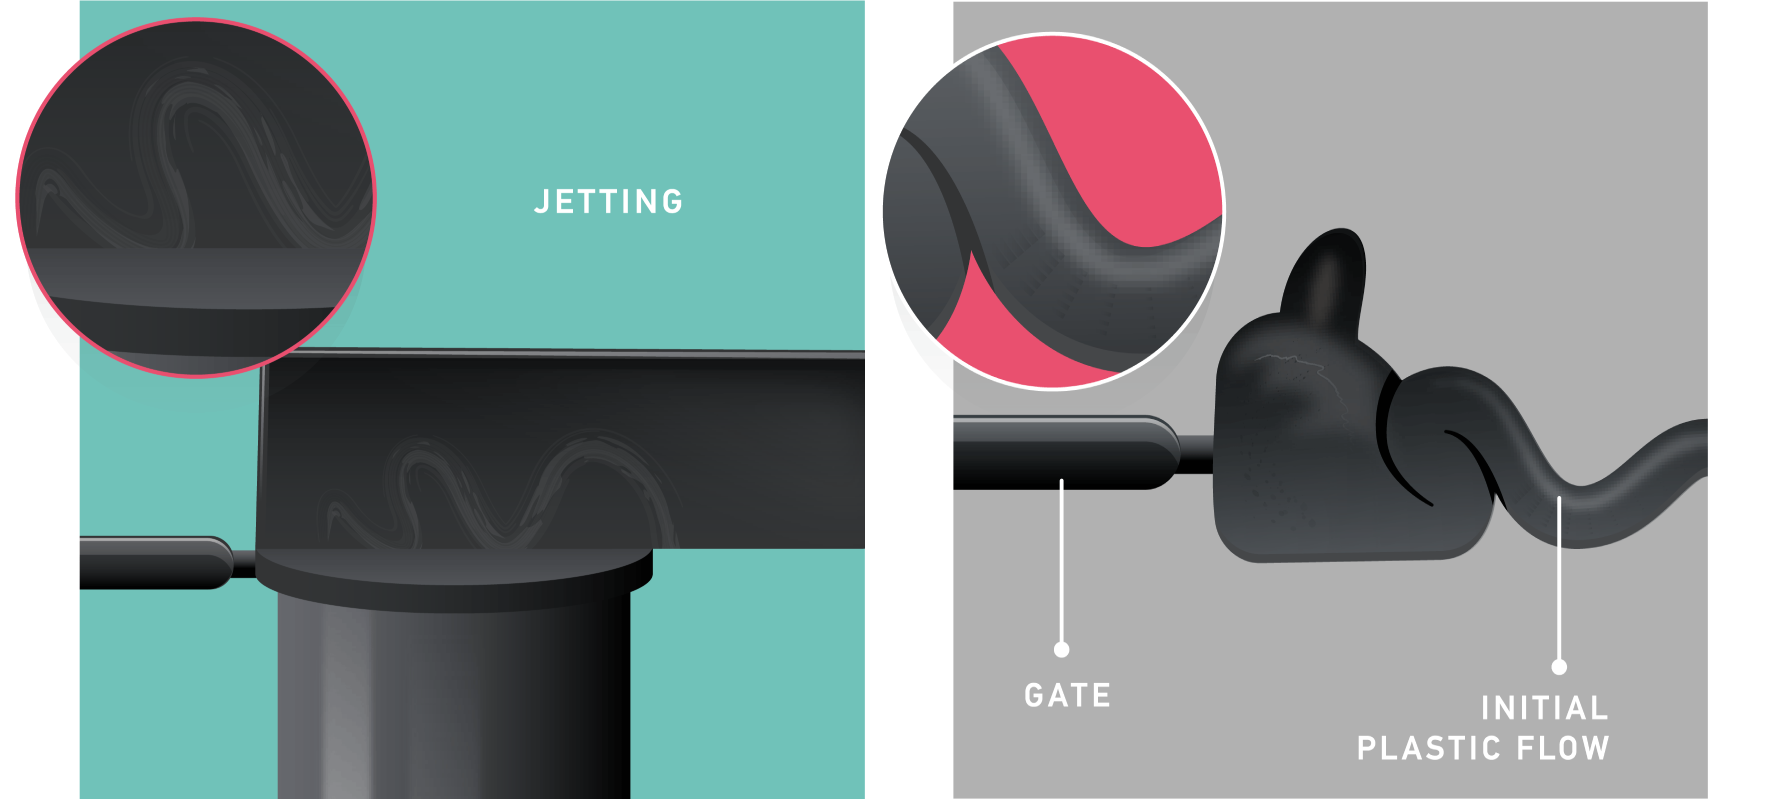
- Place the gate against the metal surface.
- Use an overlap gate or a submarine gate
- Slow down the melt with a gradually divergent flow area.
- Reduce the injection speed
- Increase the melt temperature
Weld Lines
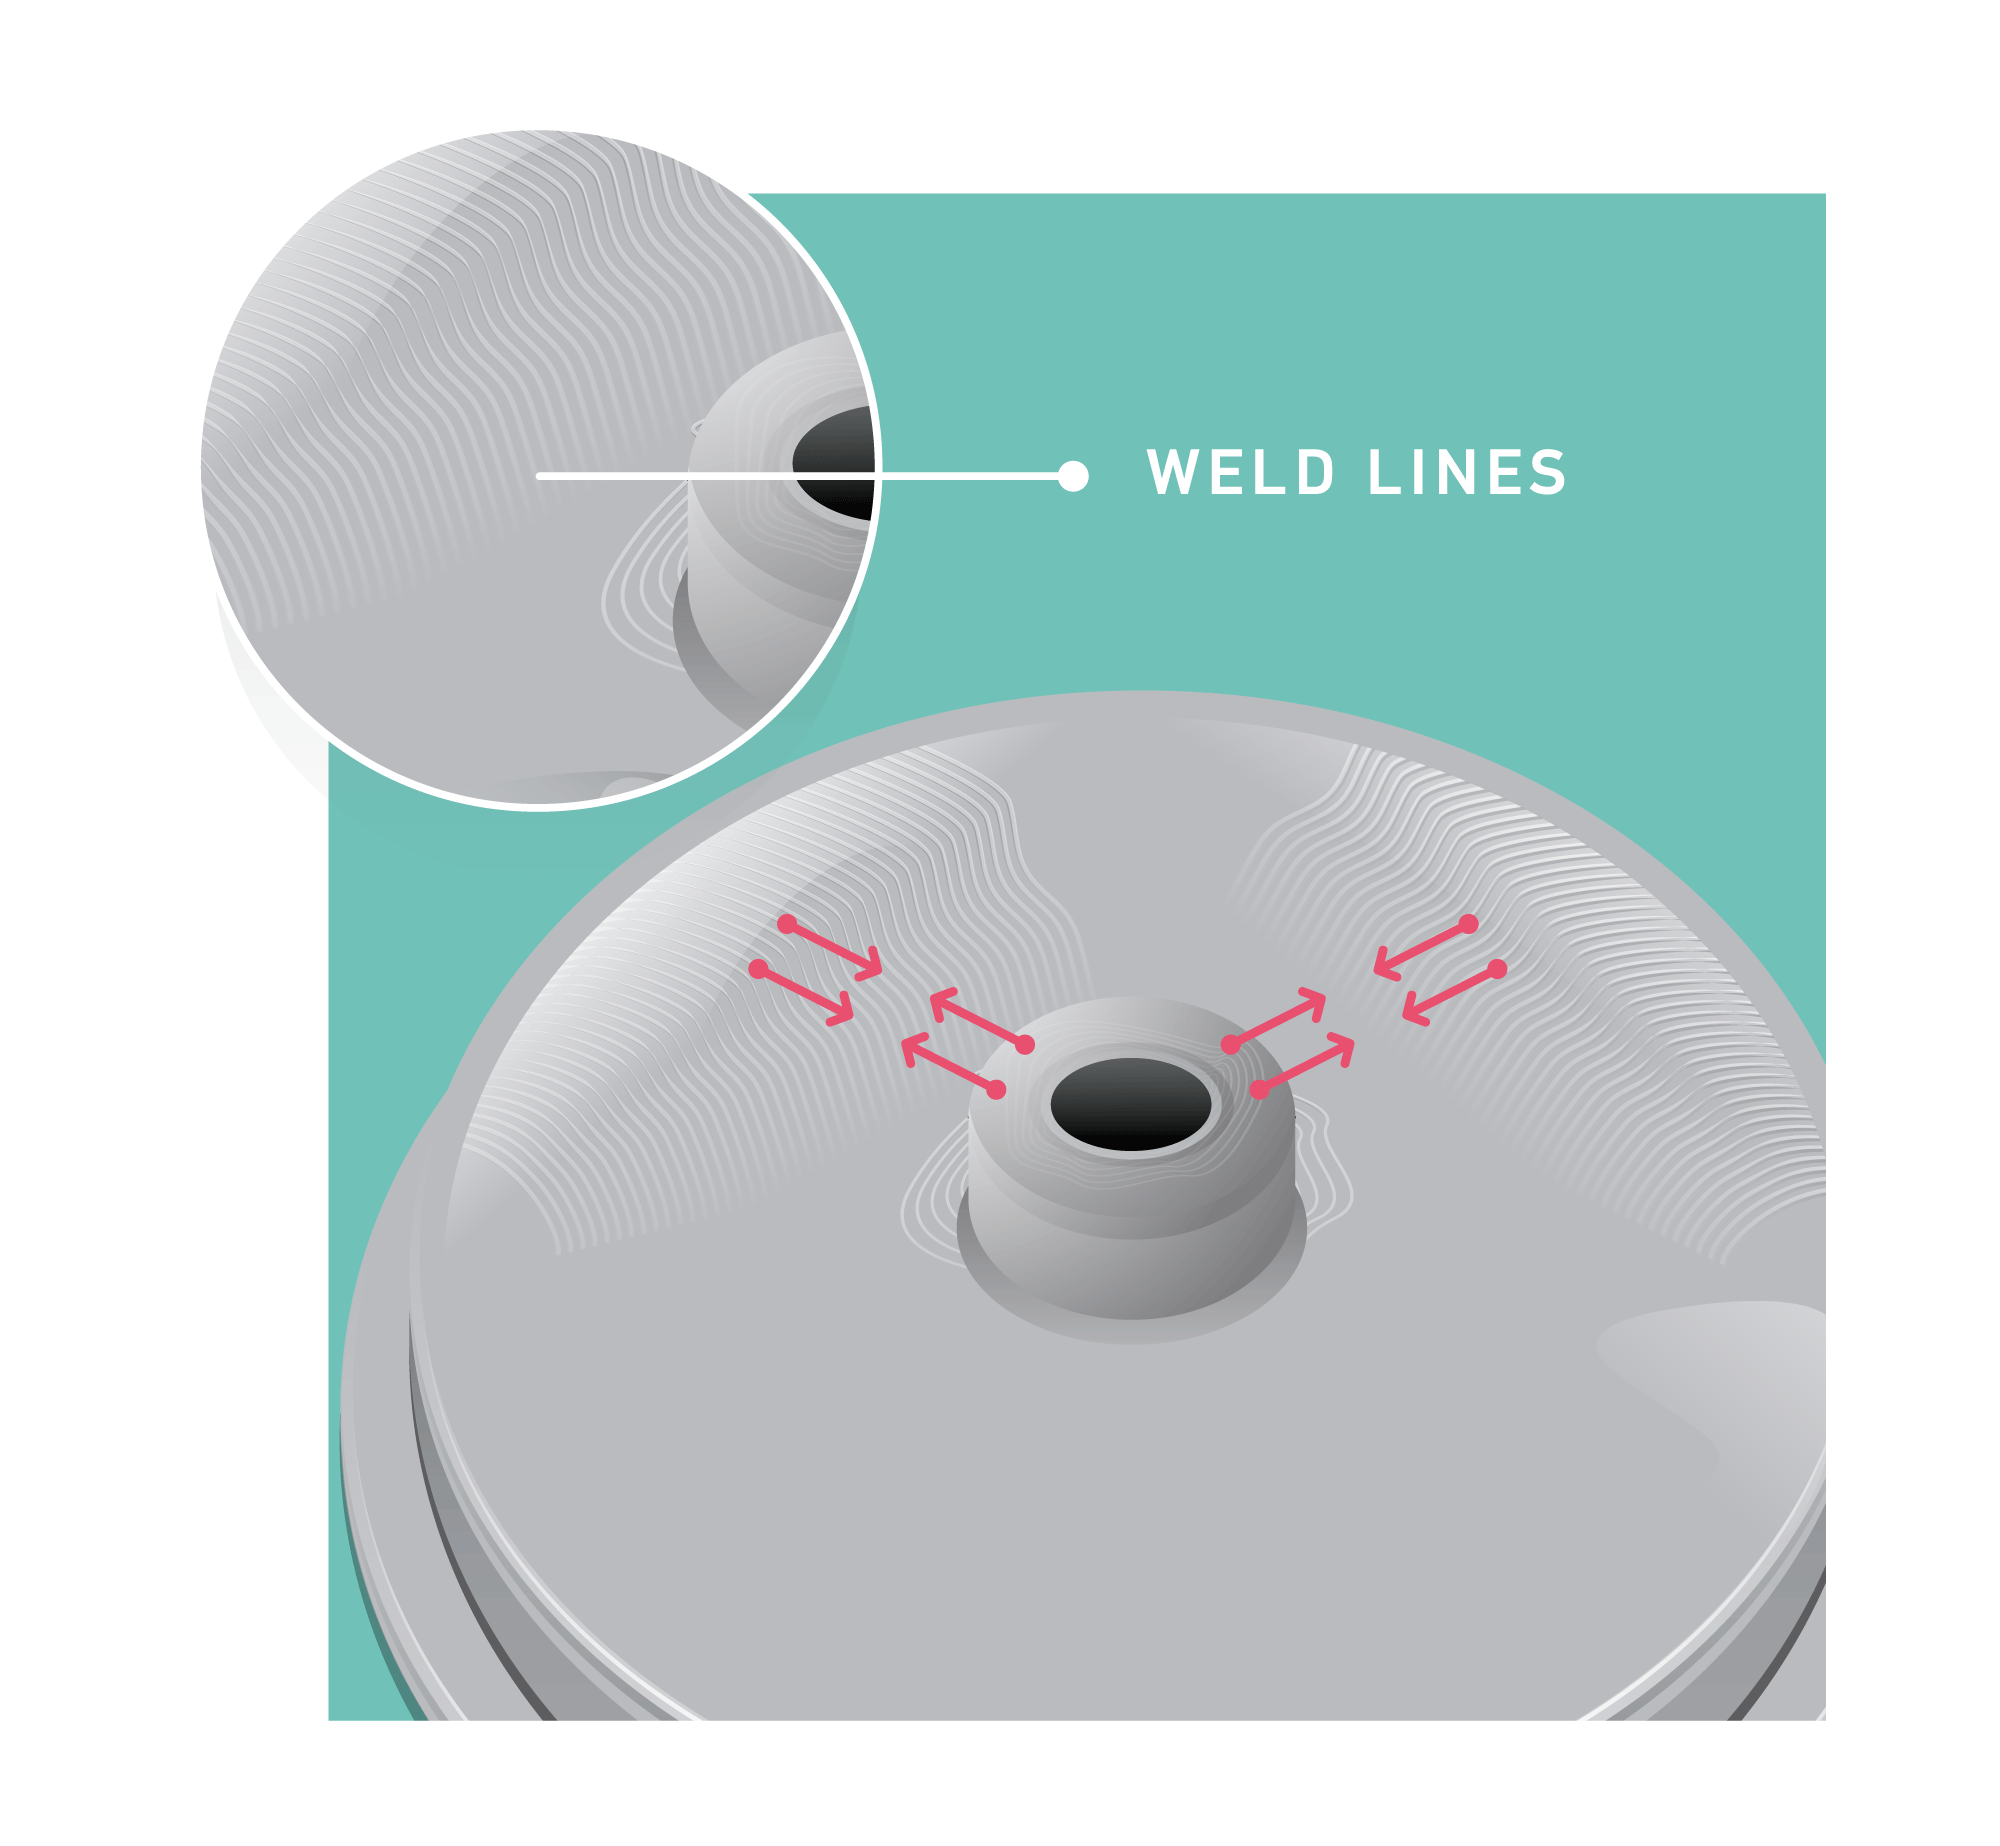
- Increase the melt temperature: If two different flows meet together and are colder than normal, weld lines will appear.
- Increase the mold temperatures: Cold mold walls prevent material flow.
- Increase the injection speeds: Lower injection speeds cause premature cooling.
- Increase the venting: Ventilation supplies better flow in the mold.